A clicking or creaking noise while pedaling is irritating, but it is not automatically a failed bottom bracket. Sounds travel through frames and components, so a click near your feet may come from a pedal, cleat, saddle, bottle cage or crank interface. Replacing the most expensive part first is a fine way to turn a small fix into a large invoice.
Focus is a full-bike click or creak heard while pedaling, for anyone who can safely support and inspect the bike. It is not a deep bottom-bracket diagnosis, and it does not replace a mechanic’s inspection where there is looseness, damage or uncertainty.
First, narrow down when the noise happens
Start by changing the conditions under which the sound appears. Note whether it happens on every pedal stroke, once per crank revolution, only under hard effort, only while seated, or only while standing. Also check whether it continues when you stop pedaling and coast.
A short stationary test can help. Hold the brakes, keep the bike stable, and apply controlled pressure to one pedal at a time. Do not stamp on the pedals or deliberately flex the frame. You are trying to reproduce the noise, not audition for a frame warranty claim.
| What you notice | Check first |
|---|---|
| Noise only when seated | Saddle rails, seatpost clamp and seatpost-to-frame interface |
| Noise only when standing | Pedals, cleats, cranks, chainring hardware and accessories |
| Noise once per crank revolution | Pedal, crank arm, chainring interface or bottom-bracket area |
| Noise only under hard effort | Loose or flexing pedal, cleat, crank, chainring or saddle interface |
| Noise seems to come from the shoe or pedal | Cleat bolts, cleat contact points, pedal threads and pedal bearings |
| Noise remains while coasting | Wheel, brake, headset, axle or road-surface noise rather than the drivetrain |
These patterns narrow the search, but they do not prove a single cause. A creak that appears once per revolution may still be a pedal or chainring bolt rather than a worn bearing.
Check the easy external causes first
Begin with the pedals. Confirm that each pedal is tight in the crank and that the threads are clean. Dry or contaminated threads can creak as the crank flexes under load. If the pedal body has play or rough bearings, the pedal itself may be making the click. Remove and reinstall it with suitable grease; the guide to greasing bike pedals covers the basic idea.
Pedal threads are handed, so take care when removing them. The left pedal has a reverse thread. If you are unsure which way to turn, stop rather than applying more force. A Park Tool pedal wrench or a compatible spanner gives better control than attacking the flats with an adjustable wrench. See how to remove bike pedals before starting if the pedals are unfamiliar.
For clipless pedals, inspect the cleats and shoe hardware. Loose cleat bolts, worn contact points or a dry shoe-cleat interface can create a regular click that follows the shoe rather than the crank. This applies to common systems such as Shimano SPD cleats and Look Keo cleats. Check each bolt, clean the mating surfaces and tighten to the shoe or cleat manufacturer’s specification.
Next, temporarily remove or secure anything attached to the frame. Bottle cages, cage bolts, computer mounts, pump brackets, saddle bags and light brackets can rattle through the frame and sound like a drivetrain fault. A loose bottle cage is particularly good at producing a noise that sounds much more expensive than it is.
Check that the wheels are properly secured with the quick-release or thru-axle. Inspect obvious loose bolts, but do not interpret this as permission to dismantle every fastener on the bike. Change one variable at a time so you know which inspection or fix made the difference.
Inspect the saddle, seatpost and contact points
If the noise disappears when you stand on the pedals, start at the saddle and seatpost. Sitting loads the saddle rails, clamp and post-to-frame interface. Climbing or shifting your weight can make those parts move slightly and produce a creak.
Repeat the test seated and standing, then check the saddle-rail hardware and seatpost clamp bolts. Look for movement, dirt, corrosion or a clamp that is visibly struggling to hold the post. Also check that the saddle rails are seated correctly in the clamp rather than pinched at an angle.
Remove and clean the relevant contact surfaces where the design allows it. Use the correct assembly compound for the materials. Carbon components generally require carbon assembly paste at the appropriate interface, not improvised grease. Grease can reduce grip where friction is needed, while carbon paste contains particles intended to increase grip at lower clamping force.
Use a calibrated torque wrench rather than tightening by feel, especially with carbon handlebars, seatposts, saddles and frames. Too little torque allows movement; too much can damage a component that is expensive, light and rather less forgiving than it looks.
When the noise points toward the cranks or bottom bracket
Once the external checks are clear, inspect the crank area. Confirm that the crank arms are secure and look for side-to-side play. Check for damaged or loose chainring bolts and, where relevant, a loose chainring lockring or chainring interface. Dirt around these interfaces can also create movement and noise.
A click once per crank revolution can implicate the crank, chainring or bottom-bracket interfaces, but it does not prove that the bottom bracket is worn. The bottom bracket is blamed because it sits in the middle of the noise map, not because it is always guilty.
Turn the cranks by hand and feel for roughness. Check for movement by holding the crank and applying gentle lateral pressure. Do not confuse normal drivetrain movement with obvious looseness. Detectable crank play, grinding, damaged threads or a component that will not torque securely are reasons to stop riding.
Keep this stage at triage level unless you have the correct tools and experience. Threaded and press-fit bottom brackets can require specific removal tools, adapters and installation procedures. For a deeper diagnosis, use the dedicated guide to bottom-bracket noise. Do not buy a new bottom bracket simply because the sound is coming from somewhere near it.
A practical fix-and-retest sequence
Work through the bike in a fixed order and retest after each change. Reproduce the noise under the same load, in the same gear if possible, and in the same seated or standing position. This prevents three simultaneous adjustments from leaving you unsure which one worked.
- Remove or secure bottle cages, computer mounts, pumps and other accessories.
- Inspect cleats, shoe bolts and pedal contact points.
- Check, remove and reinstall the pedals with suitable grease where appropriate.
- Inspect the saddle rails, seatpost clamp and seatpost interface.
- Check crank security, chainring hardware and the bottom-bracket area.
- Stop and arrange a mechanic’s inspection if there is play, grinding or visible damage.
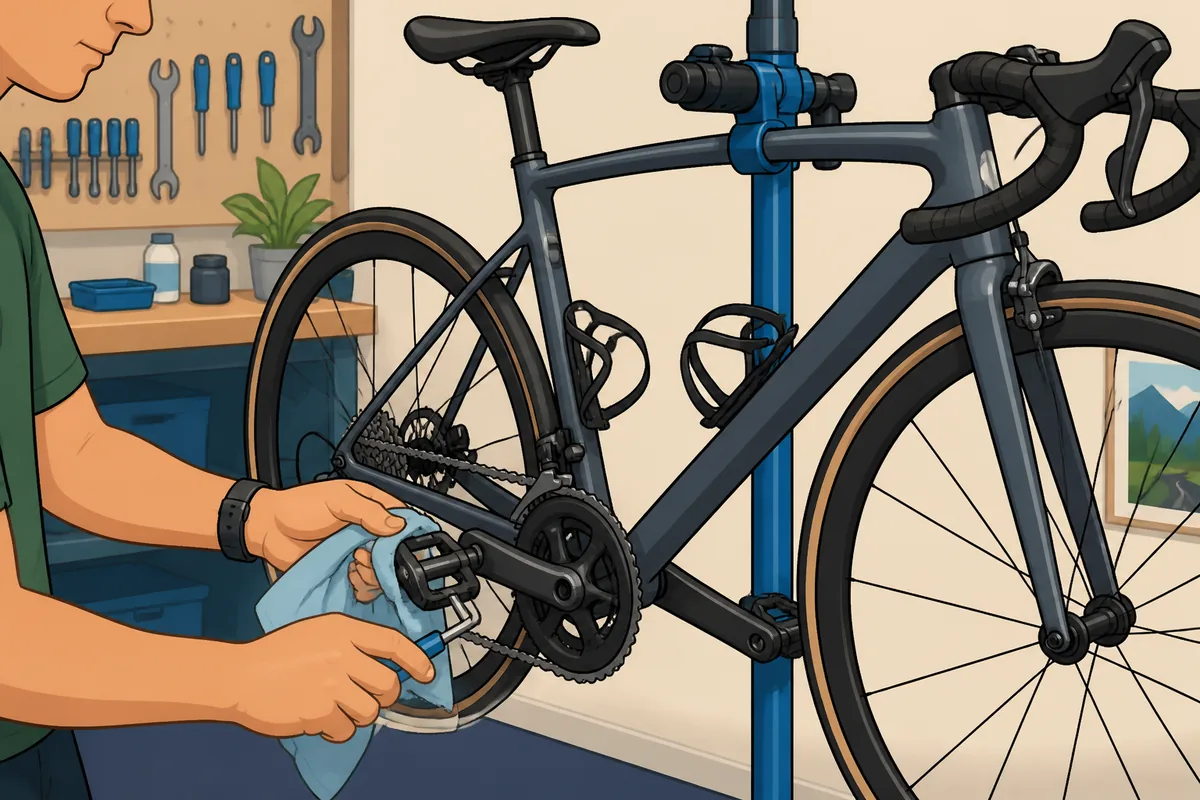
A useful basic toolkit includes suitable hex keys, a pedal wrench or compatible spanner, a clean rag, grease, carbon assembly paste where applicable, and a calibrated torque wrench. A work stand helps, but it is not essential for every check. A torque wrench is the safest default for cleat, saddle, seatpost and crank hardware because “tight enough” is not a specification.
Clean and lubricate only the interface that needs it. Do not spray lubricant into bearings, frame joints or every gap that looks suspicious. Lubricant can temporarily quiet a noise while allowing contamination to reach somewhere it should not.
When to stop troubleshooting and see a mechanic
Stop riding and arrange an inspection if you find crank, pedal or bottom-bracket play; grinding; damaged threads; a slipping component; visible cracking; or a noise that is getting worse under load. These are not normal personality traits for a bicycle.
Professional help is the sensible choice when the next step involves press-fit or threaded bottom-bracket removal, bearing replacement, carbon component inspection or tools you do not have. A harmless squeak may allow a cautious short ride while you diagnose it, but looseness or structural damage should not be ridden until checked.
The safest default is simple: start with pedals, cleats, saddle, seatpost and loose accessories, then move inward toward the cranks and bottom bracket. Find the interface that is moving before you replace a part. That approach costs less, preserves good components and usually gets you back to a quiet bike faster.
Frequently asked questions
Why does my bike click only when I pedal hard?
Higher load can flex interfaces and expose a loose pedal, cleat, crank, chainring bolt, saddle component or bottom-bracket issue. Start with the external checks rather than assuming the bottom bracket is worn.
Can a loose cleat cause a clicking noise when pedaling?
Yes. Loose cleat bolts, worn cleat contact points or a dry shoe-cleat interface can create a click that follows each pedal stroke. Check the shoe and cleat before removing drivetrain parts.
Is it safe to ride a bike that is creaking?
A squeak without play may allow a cautious short ride while you diagnose it, but stop riding if you find looseness, cracking, grinding, damaged threads or worsening movement. Persistent noise without access to the relevant tools belongs with a mechanic.

I’ve spent way more time in the bike trade than anyone should reasonably want to. In that time I’ve wanted to make cycling jargon and marketing easier to cut through to help people get the bike of their dreams.
When I’m not writing about bikes, I can be seen out bikepacking on single speed bikes or teaching kids how to ride.