Cycling is a great sport, but it’s not always about riding a bike. It is about great coffee, making new friends, and exploring new places. If you are new to the cycling world, you will soon find that no matter what bike you have, a huge variety of parts will fit it.
A great upgrade you can make is your pedals. They come in many different types to suit different kinds of riding or even users.
This article will explain why you should upgrade your pedals, the different types of pedals you can use, and how to remove and change them properly.
Why should you upgrade your pedals?
Although pedals might not be the first upgrade you think about, here’s why you would consider upgrading them.
Better Grip
If you like a bit of off-road riding, then you need a grip on your pedals. You might find upgrading your pedals can give you the support you need to tackle those more challenging trails.
Clip-ins
There are a lot of cyclists who eventually end up using clip-in pedals. These pedals mean you can fix your foot to the bike for better grip and pedaling efficiency.
Better Performance
Although you might not think there’s much in the weight of a pedal, but there is. You can save 100g on each side of the drivetrain by using high-performance pedals with smoother bearings.
Style
Finally, we have style. Pedals come in all different colors, shapes, and designs. Pedals to match your bike always look great.
Different Types of pedals
There are a lot of different types of pedals on the market to choose from to complement your riding. Here’s what you can expect;
Flat
Flat pedals are what you will see on a lot of new bikes. They don’t require specialist shoes and are either made of plastic or metal.
They are favored by mountain bikers and offer good grip alongside an easy escape if you need to get your foot away. Being double-sided, it makes them really easy to use, and your foot can sit in multiple positions.
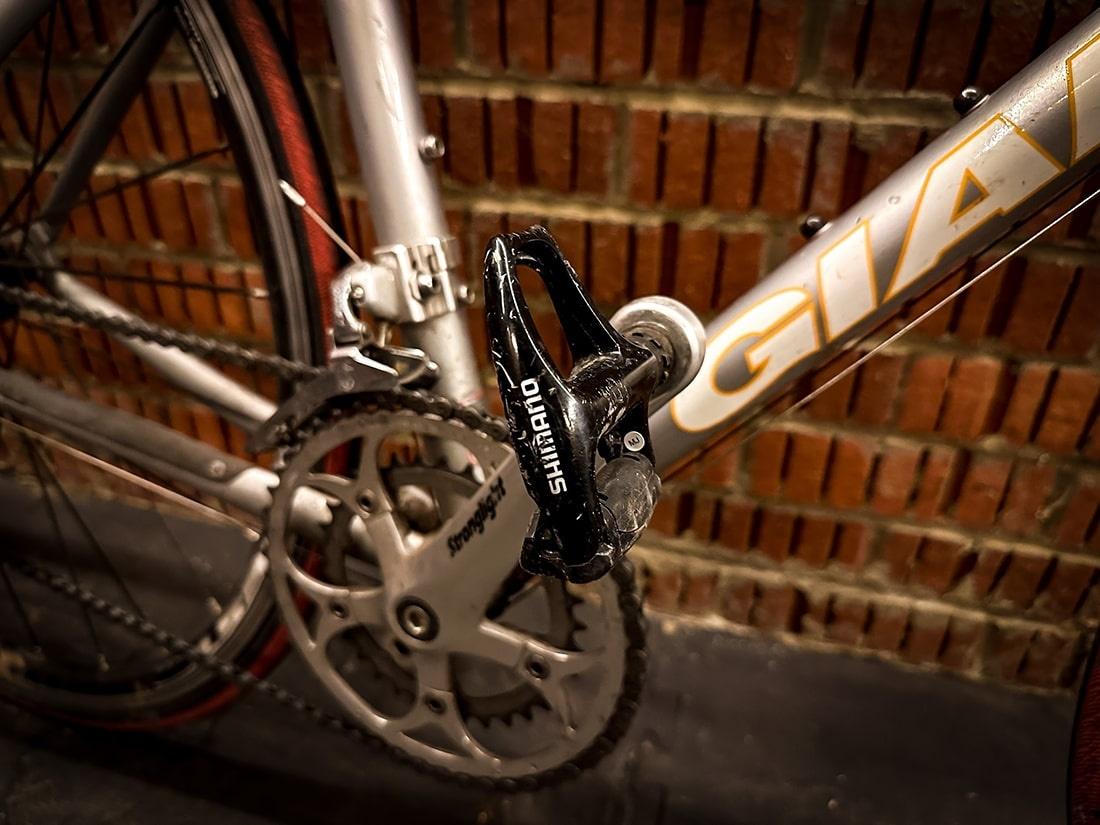
Road Clip in
Road clip-in pedals are what you will see cyclists use in the Tour de France. They require special shoes with road bike cleats on the underside. The pedals are made of metal or sometimes carbon.
When being used, clip the foot into place, and it locks in tight. They are single-sided, made to be lightweight and aerodynamic.
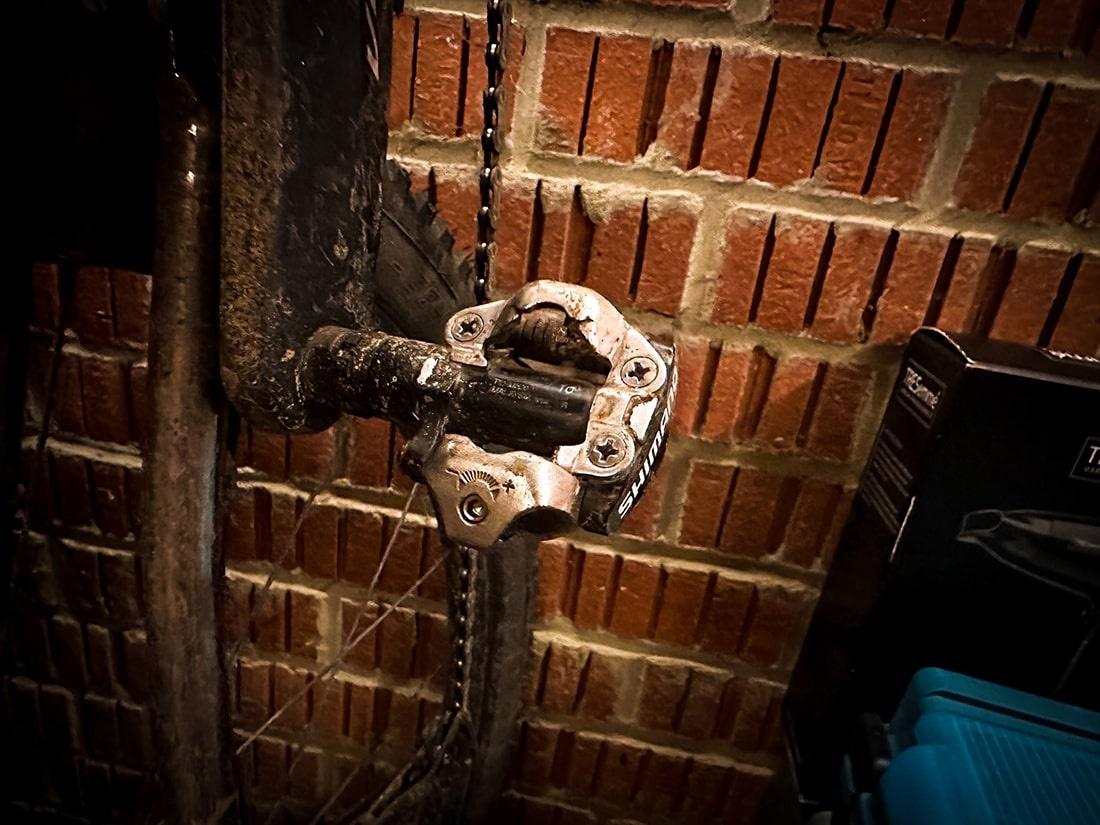
MTB Clip in
MTB clip-in pedals are what you will see many cross-country cyclists use. They require special shoes to use and require mtb cleats on the underside.
You will find these pedals made of metal. They come double-sided so that you can clip in quickly.
Toe Clips
Many cyclists like to use toe clips. These are flat pedals with the ability to strap your foot in.
They are really easy to use, and you will see these on spinning bikes, regular bikes, and they do some awesome strap versions for fixies.
Other Types
You should look into many other types, such as Speedplay, Egg Beaters, and many more generally, though the ones above are what you will see on most bikes.
How to change your pedals
 Let’s start showing you how to change pedals. Before you start, we recommend finding a safe place to do so where you won’t be in the way anywhere.
You will require the following;
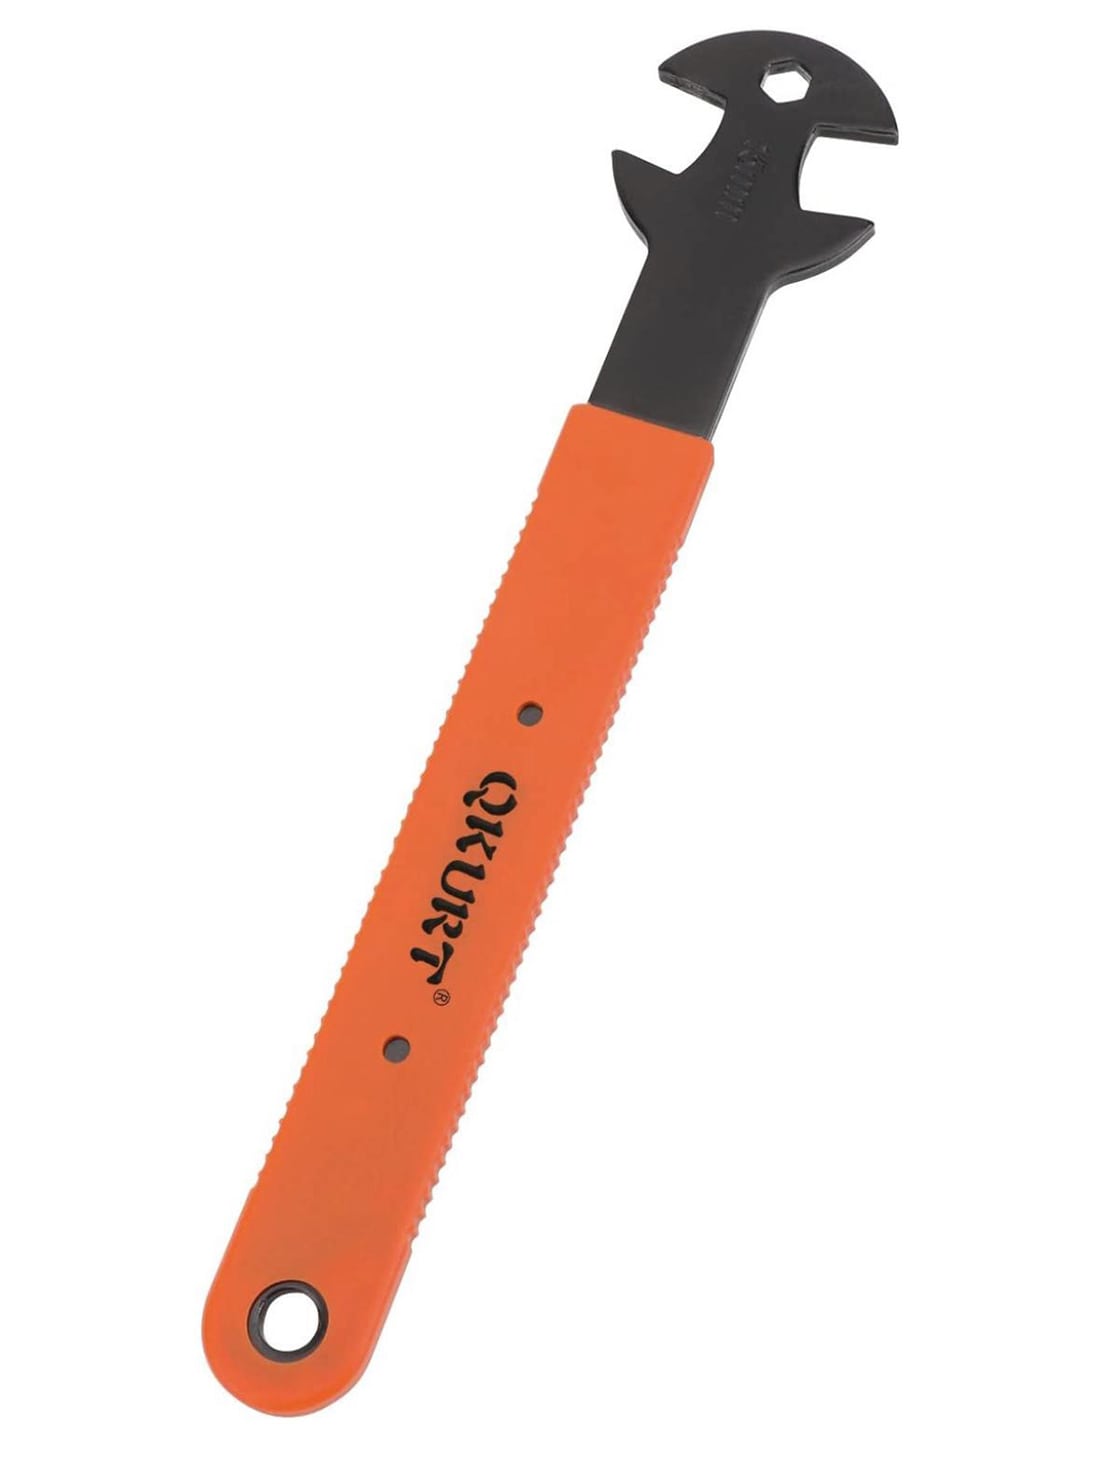
- Allen Keys or 15mm Spanner
- Pedal Grease
- Rag
Step One: Establish Tools and Rotation
You will first need to establish the tool you will need and which way to rotate it to remove the pedal. Pedals undo in different directions depending on the side they are on.
Go to the base on the pedal, where the axle goes into the bike. If you have a square shape, then you will use the 15mm spanner. If you have a rounded shape, you will use the Allen key fitment on the rear of the pedal arm.
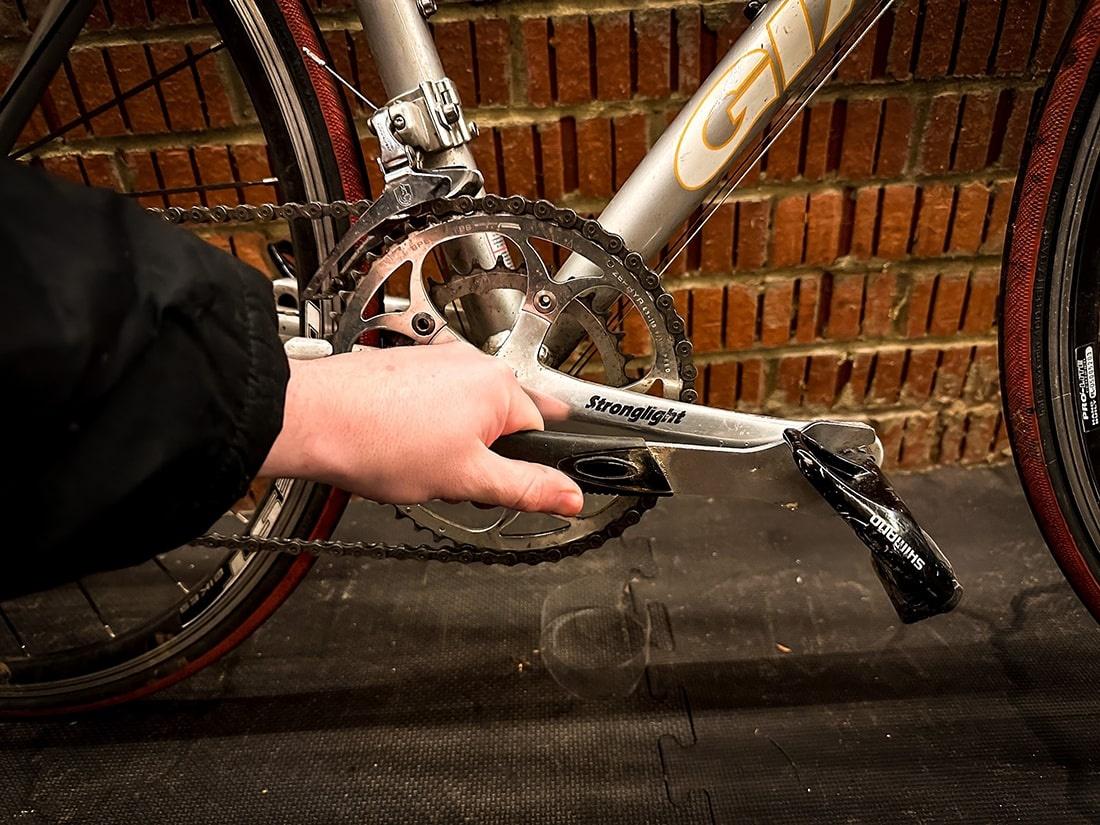
To remove the pedal, the easiest way to learn the rotation to loosen is to imagine the crank is a clock. Take the pedal to the 12 o’clock position, and you need to drive the Tool to the bike’s rear.
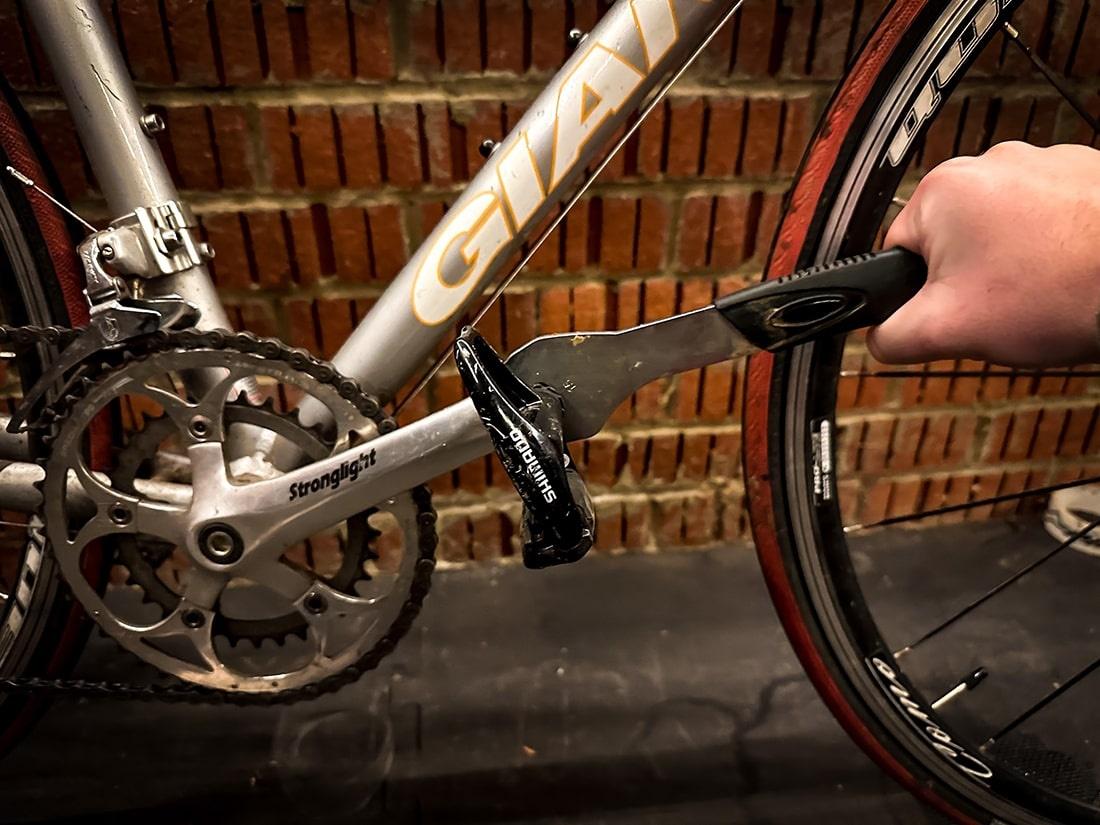
Step Two: Attach the tool and undo pedal
Now you know the direction and the Tool you need, it’s time to undo the pedal. The best way to do this is to bring the pedal to the 3 o’clock position, attach the Tool pointing towards the rear point to 10 o’clock, and force it down.
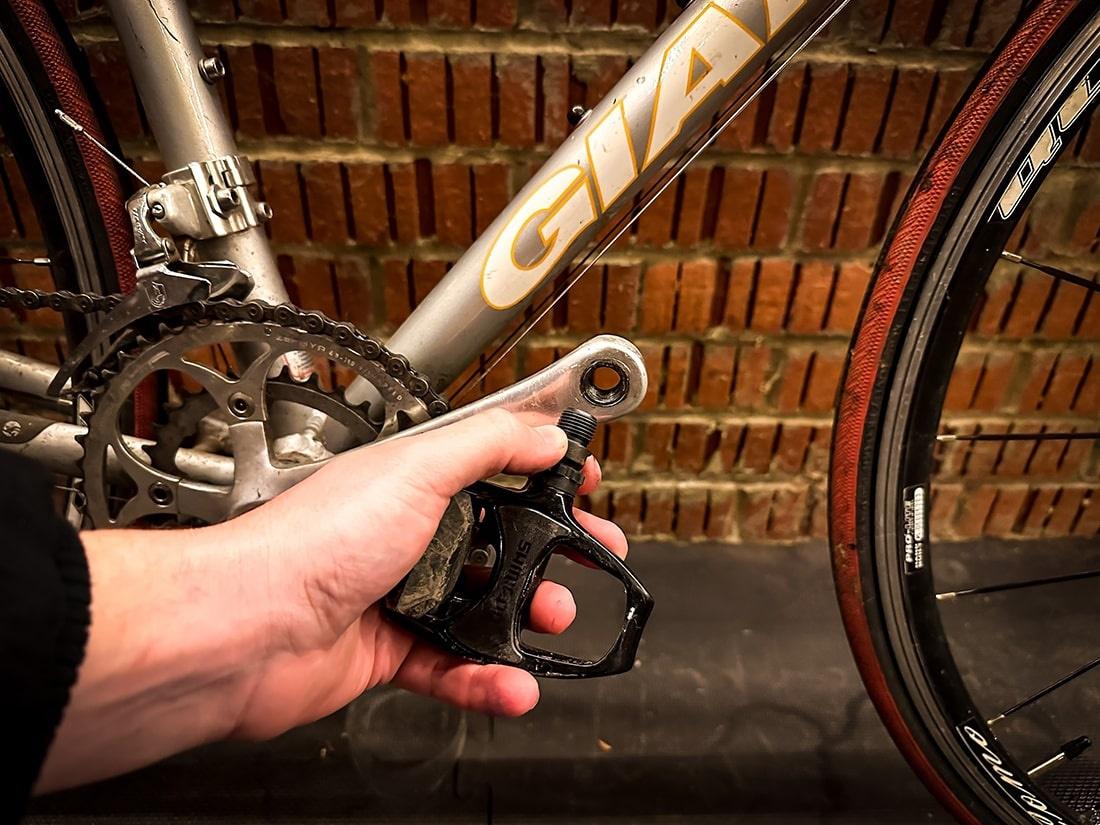
You should feel it loosen very quickly, and then you should be able to undo it by hand the rest of the way until it falls out. If it’s being stubborn, check the direction to ensure you’re undoing it and apply more pressure.
Once you have done one side, repeat the process on the other side. Remember to use the same method to find the correct direction for loosening the pedal. You can cause yourself big issues by tightening it further.
Step Three: Clean Threads Grease new Pedals
Now you’ll want to put the old pedals to the side. Get a rag and clean the pedal thread on the bike’s crank arms. It’s easy for grit and dirt to get stuck in these, and we don’t put new pedals in when they are messy.
Next, you will want to get the new pedals and grease the threads. Using pedal grease or general bike grease will be ok. What we’re trying to avoid is them locking in when you next might need to remove them.
 Step Four: Attach New Pedals
Now you need to attach the pedals. We recommend starting the process by screwing them in using your hands only.
The pedals must go on the correct side. You will typically have an L on the left pedal and on the right, an R.
Remember, it’s the opposite direction to loosening them, so slowly get the pedals in, remembering to use your hands. Once you have gone as far as you can, get the tool and tighten them with a bit more force.
Pedals need to be 40 nm which is tight. We advise a torque spanner but appreciate not everyone has one of these.
Ensure you give it a big push but don’t go crazy, as you might need to undo them at some point.
Conclusion
Now you know how to change bike pedals. We hope you enjoyed our guide and feel confident taking on the job.
This is a very handy skill to know when it comes to flying with a bike, as they often have to be removed.

Robbie Ferri has spent years working in a bike shop, has worked with industry leading brands on product creation, has been a semi pro athlete, and is a fully qualified strength and conditioning coach. He has broken World Records, bikepacked all over the World and raced ultra distance at a top-level.

