
Bottom bracket noise is frustrating because the sound often travels through the frame before reaching your ears. A creak that seems to come from the crank area may actually be a loose crank arm, chainring bolt, shoe or another nearby interface. Replacing the bottom bracket immediately is a good way to spend money while leaving the noise intact.
Start only after obvious pedal and saddle noises are ruled out. The focus is creaks and clicks around the bottom bracket, using timing, load and feel to separate a genuine bearing problem from a simpler loose or dry interface.
First confirm that the noise is coming from the bottom bracket
Carbon and aluminium frames can transmit sound over surprising distances. A click at the rear wheel can sound as though it is under your feet, while a creak at the crank may echo through the down tube. The apparent location is useful, but it is not proof.
Start with the easy checks. Look for movement or looseness at the crank arms, chainring bolts, rear wheel and cassette. Check the saddle and seatpost even if the noise seems lower down. Cleats and shoes can also creak under load, particularly when the noise appears only in one riding position.
Pay attention to when the noise happens:
- Once per crank revolution: investigate the crank, chainring, pedal interface and bottom bracket, in that order rather than assuming the bearing is at fault.
- Only during hard pedaling: suspect a loaded interface that moves slightly under torque. A loose crank, chainring bolt or frame contact can all behave this way.
- Only when standing: extra force and frame flex may expose a dry or loose contact point. This does not automatically mean the bottom bracket bearings are worn.
- Only when seated: the saddle, seatpost or a position-dependent frame contact becomes more suspicious.
- While coasting: the bottom bracket is not being driven, so investigate the wheel, freehub, chain or another rotating part first.
For the wider sequence, see our guide to bike clicking or creaking when pedaling. The useful rule here is simple: noise timing tells you more than noise volume. A loud noise is not necessarily a failed bearing, and a quiet click can still come from a loose component.
| What you notice | Likely direction to investigate |
|---|---|
| Click once per crank revolution | Crank fixing, chainring hardware, pedal interface or bottom bracket |
| Creak only under hard load | Loose or dry crank, chainring, bearing interface or frame contact |
| Roughness or play while turning the cranks | Contaminated or worn bearings, loose cups or another bottom bracket fault |
| Noise while coasting | Wheel, freehub, chain or another rotating part rather than the bottom bracket |
| Noise only when seated | Saddle, seatpost or a position-dependent frame contact |
What different bottom bracket noises usually mean
A creak under load usually means that two surfaces are moving against each other. The surfaces may be dry, dirty, insufficiently tightened or no longer fitting as they should. That is an interface problem, not automatically a bearing problem.
A once-per-revolution click deserves a little more thought. The crank makes one full rotation per cycle, but so do several interfaces connected to it. A chainring bolt, crank fixing system, pedal thread or cleat can produce a precisely timed click. If the sound follows the crank position rather than the wheel speed, stay focused on the crank area, but do not jump straight to bearing replacement.
Grinding, notchiness, roughness or side-to-side play are more concerning. With the chain unloaded where practical, turn the cranks slowly by hand. Bearings should rotate smoothly and consistently. A slight amount of drivetrain drag is normal; gritty spots, a rumbling feel or detectable lateral movement are not characteristics to ignore.
Noise that changes when you pedal harder or stand up often points to flex. The extra load can move a crank arm, chainring, cup or frame interface just enough to make a sound. That makes the noise useful as a clue, but it also means a stationary test must be controlled. Do not force the cranks violently just to make the bike complain louder.
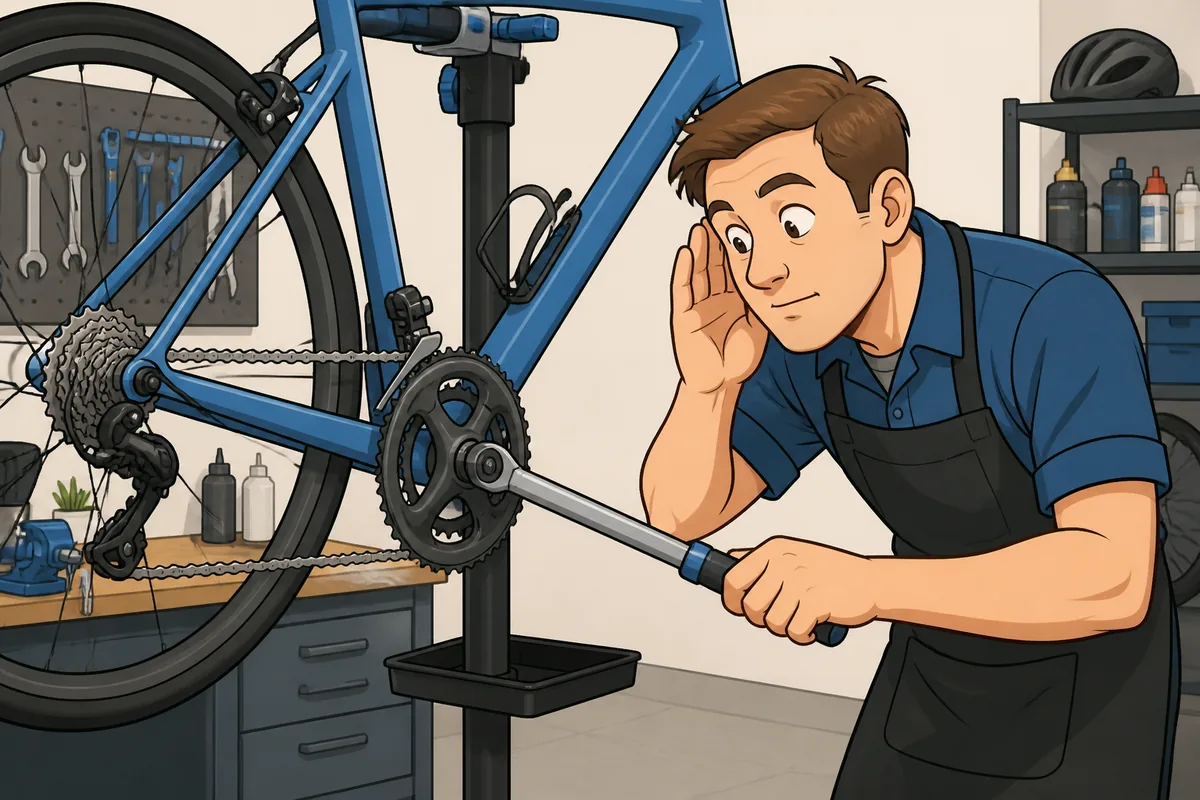
A practical bottom bracket noise diagnosis checklist
Begin with cleaning. Remove built-up dirt from the crank, chainrings, bottom-bracket shell area and nearby frame surfaces. Dirt can mask a loose fastener and can also work into an exposed interface. Then inspect for obvious damage, water ingress, displaced seals or marks showing that a component has been moving.
Next, check accessible hardware. Confirm that the crank arms are secure and that the fixing system is being checked in the correct way for that crank design. Some systems use a preload adjuster as well as a fixing bolt; the adjuster sets bearing preload and is not a substitute for properly securing the crank. Chainring hardware also deserves attention because a loose bolt can make a convincing bottom-bracket impersonation.
A calibrated torque wrench is worthwhile for this work. Crank fixing bolts, chainring bolts and bearing hardware need the torque specified by the component manufacturer. Do not copy a figure from another crank or guess based on how tight something feels. Over-tightening can damage threads or small aluminium hardware; under-tightening allows movement.
With the chain off the chainrings, or otherwise unloaded where practical, rotate the cranks slowly. Feel for:
- rough or gritty rotation;
- a notch or tight spot at one point in the revolution;
- side-to-side movement at the crank arms;
- inconsistent resistance; and
- movement or noise where the crank meets the frame.
You can also apply moderate pressure to each crank while the bike is stationary and listen for the same sound. Keep the test within normal pedaling force. If the crank visibly shifts, stop testing and stop riding until it has been inspected. A loose crank can damage the crank interface quickly, turning a straightforward adjustment into an expensive component problem.
Inspect the shell area closely, especially after wet riding or washing. Water, grit and failed seals can contaminate bearings, while a press-fit system may show signs of movement between the bearing cup and frame. A visible crack, damaged thread or shell movement is not a cue to add more grease and hope for the best.
Common fixes, from simple checks to bottom bracket replacement
The safest default is to start with the least invasive fix: clean the area, correctly torque accessible hardware and retest under the same conditions that produced the noise. If the click occurred only while standing on a climb, a short controlled test under similar load is more useful than a silent spin around the workstand.
Threaded bottom brackets are generally more straightforward to service. A mechanic can remove the cups, clean the shell and threads, inspect the bearings and reinstall the parts with the correct assembly compound or grease at the correct interfaces. The right material depends on the component and frame maker’s instructions. Grease is not a universal cure, and threadlocker is not a substitute for correct torque.
Press-fit systems need more care. Creaks may come from contamination, bearing fit, shell tolerances, damaged seats or frame damage. A generic smear of grease may quiet one bike and do nothing on another. In some cases the bearing or cup needs replacement; in others the shell or fit requires specialist inspection. This is why press-fit creaks are a poor place to follow internet folklore with a tub of mystery paste.
Some bottom brackets use serviceable bearings, while sealed cartridge or integrated systems are normally replaced as a unit. A cheap, common cartridge that feels rough may not justify elaborate diagnosis: once the surrounding interfaces have been checked, replacement can be the sensible repair. An expensive, unusual or proprietary system deserves a proper inspection before you order parts.
Useful equipment includes a calibrated torque wrench, bicycle assembly grease and a compatible threaded or press-fit replacement bottom bracket. The important word is compatible. Bottom brackets vary by shell standard, axle diameter, crank system and width, so buying one because it looks similar is not a reliable parts strategy. If you are not certain which standard your bike uses, take the existing part details or the bike to a mechanic. You can also learn more about the different bottom brackets before buying anything.
When to stop riding and use a bike mechanic
Stop riding and arrange an inspection if you find crank looseness, bearing play, persistent grinding, damaged threads, a cracked bottom-bracket shell or a noise that is getting worse quickly. A faint intermittent creak is not automatically an emergency, but continued riding with a loose crank or moving bearing can damage expensive interfaces.
Carbon frames, press-fit systems, seized cups, unusual standards and internal bearing arrangements are all good reasons to use a mechanic rather than buy tools and guess. The cost of a diagnosis is usually lower than repairing a damaged crank, shell or frame after an avoidable mistake.
When handing the bike over, record when the noise occurs, whether you are seated or standing, which gear you are using and what checks you have already completed. That information gives the mechanic a useful starting point and helps prevent the same basic checks being repeated.
Frequently asked questions
Can a creak mean the bottom bracket bearings are worn out?
Yes, but a creak alone is weak evidence. Roughness, grinding or play provide stronger reasons to suspect worn bearings after the crank, chainring and other nearby interfaces have been checked.
Why does my bottom bracket click only when I stand on the pedals?
Standing increases load and frame or crank flex, which can expose a loose or dry interface. The source may still be the crank, chainring, pedal or frame rather than the bearing itself.

I’ve spent way more time in the bike trade than anyone should reasonably want to. In that time I’ve wanted to make cycling jargon and marketing easier to cut through to help people get the bike of their dreams.
When I’m not writing about bikes, I can be seen out bikepacking on single speed bikes or teaching kids how to ride.


