There is no single correct mountain bike tire pressure. A light rider on 2.4in tubeless tires, a heavier rider on narrow XC rubber, and an enduro rider on sharp rocks should not use the same number. A chart is a better starting point than guessing.
This guide covers tubeless and inner-tube mountain bike setups with correctly sized tires on compatible rims. The main chart assumes a typical tubeless trail setup; with inner tubes, start toward the higher end of the range because very low pressure raises pinch-flat risk. The figures are not a substitute for the tire or rim manufacturer’s maximum-pressure limits. Check both. Manufacturer guidance from Schwalbe is useful when tire size and rim width vary.
Mountain bike tire pressure chart
Use your total system weight: rider plus clothing, shoes, helmet, pack, water, tools, and anything else on the bike. That extra mass matters when you are near the edge of a range.
The chart assumes a tubeless trail setup with roughly 2.3-2.4in tires, a modern rim about 25-30mm wide internally, an ordinary trail casing, and no insert. It is aimed at general trail riding rather than race XC or downhill. Start near the middle, with the rear slightly higher than the front.
| Total system weight | Front / rear starting pressure |
|---|---|
| Under 65kg / 143lb | 20-23psi / 22-25psi |
| 65-80kg / 143-176lb | 22-25psi / 24-28psi |
| 80-95kg / 176-209lb | 24-28psi / 27-31psi |
| Over 95kg / 209lb | 27-31psi / 30-35psi |
These are starting points. A narrow 2.1in tire, a soft XC casing, a wide 2.5in tire, or a heavy downhill casing can all need a different approach. The rear normally needs more pressure because it carries more load and takes more square-edged hits; the front can often run slightly lower for steering and braking grip.
Starting pressures by riding style and terrain
Weight is only part of the decision. The ranges below are broad starting points for a roughly 65-80kg system weight with suitable tubeless tires and no inserts. Move up or down using the weight chart and your tire’s construction.
| Use and terrain | Front / rear starting range |
|---|---|
| XC on smooth hardpack, 2.1-2.3in | 20-25psi / 22-28psi |
| Trail on mixed surfaces, 2.3-2.5in | 22-28psi / 24-31psi |
| Trail on wet roots and rocks | 21-27psi / 23-30psi |
| Enduro / aggressive rocky terrain | 26-32psi / 29-36psi |
On mixed trail, the middle of the weight chart is the safest default. Wet roots may justify removing 1-2psi if the tire stays stable; sharp rocks, high-speed descents, and jump lines usually call for adding 1-2psi instead of chasing comfort. Do not drop pressure on a narrow, flexible XC casing simply because the tires are tubeless – sidewall support still matters. Heavier and more aggressive riders should be especially suspicious of very low pressures that feel fine on a climb and then dent a rim in a rock garden.
Tire volume, casing, and inserts
A 2.4in tire and a 2.2in tire at the same pressure do not behave the same way. Higher volume usually means more air supporting the rim and sidewall, so you can often run a little less pressure for similar grip and impact protection.
Rim width changes the tire’s shape. Stay inside the tire maker’s approved rim range rather than assuming every combination is sensible. Lightweight XC casings usually need more pressure to resist folding; reinforced trail or enduro casings can often start a little lower, at the cost of weight and sometimes rolling feel.
Tire inserts can improve rim protection and add support when cornering at low pressure. They help riders who regularly damage rims or ride rough terrain at speed. They do not make an unsafe pressure safe, and they cannot prevent every sidewall cut or burp. With an insert, start near the middle of the chart and tune from there rather than automatically dropping several psi.
How to fine-tune mountain bike tire pressure
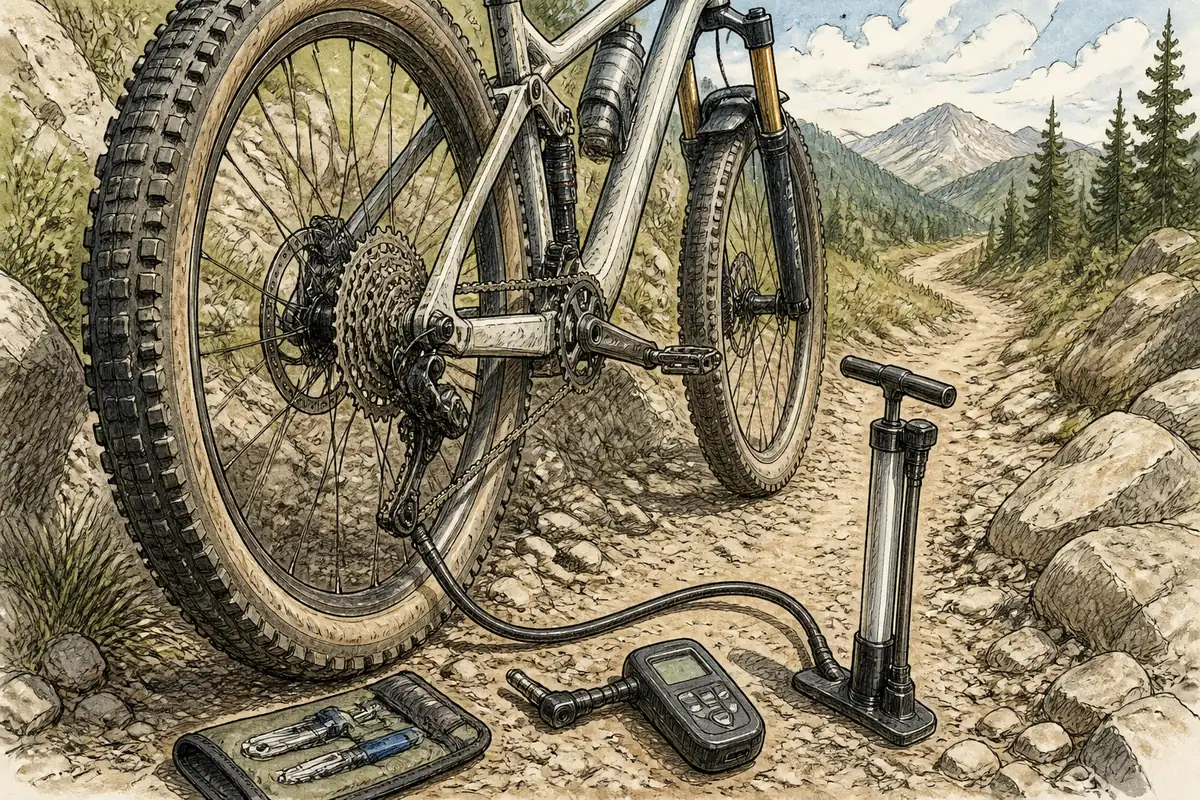
Set both tires cold with the same reliable gauge. Ride a familiar section that includes the corners, roots, or rocks where you normally notice a problem. Adjust in 1-2psi steps, one end of the bike at a time.
- Rim strikes or dents: add 1-2psi to the affected tire, usually the rear first, and inspect the rim before you keep riding hard.
- Tire squirm in corners: add pressure, or move to a more supportive casing.
- Burping: stop lowering pressure; check seating, rim compatibility, and the tubeless setup.
- Harshness and poor grip: remove 1-2psi only if you are clear of rim strikes and the tire still feels supported.
- Skipping across roots: slightly lower pressure may help, though line choice and suspension also matter.
- Folded sidewalls or vague steering: add pressure rather than chasing lower numbers.
Front pressure mainly changes steering grip and harshness at the hands. Rear pressure has a larger effect on rim protection, climbing traction, and support when you corner or land. Write down pressure, tire model, casing, rim width, insert status, and system weight if you want changes to stay repeatable.
Check pressure before every meaningful ride, especially after installation, sealant work, temperature swings, or several days of storage. Different pumps can disagree – consistency matters more than chasing another gauge’s absolute number. Do not copy a pro’s pressure unless casing, rim, inserts, terrain, speed, and system weight are broadly comparable.
For measuring and adding air, see how to check bike tire pressure. For most riders, the safest default is the middle of the chart, a little more pressure in the rear, and small changes that protect the rim and keep the tire stable.
Mountain bike tire pressure FAQs
What PSI should I run in my mountain bike tires?
Start with the chart for your total system weight, then adjust for tire volume, casing, rim, and terrain. Begin near the middle; with tubes, begin toward the higher end.
Should the front or rear have more pressure?
The rear normally needs slightly more because it carries more weight and takes more impacts. The exact gap depends on bike, casing, rim, and riding style.
Is lower pressure always better?
No. Lower pressure can improve grip and comfort, but too little causes squirm, rim strikes, burping, and damage. Lower is a tuning option, not a badge of honor.
Do tire inserts let you run lower pressure?
They can add rim protection and support, but they do not remove the need to stay within sensible tire and rim limits. Start mid-range and tune; do not treat an insert as a free pass to drop several psi.

I’ve spent way more time in the bike trade than anyone should reasonably want to. In that time I’ve wanted to make cycling jargon and marketing easier to cut through to help people get the bike of their dreams.
When I’m not writing about bikes, I can be seen out bikepacking on single speed bikes or teaching kids how to ride.