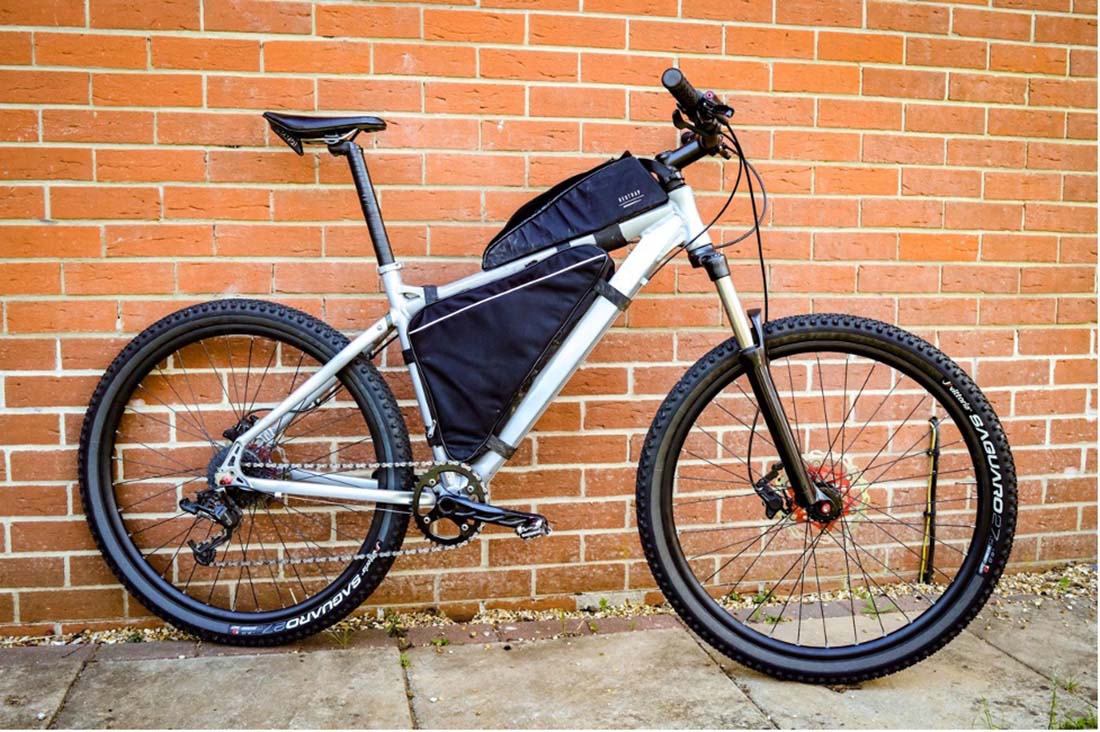
When it comes to riding bikes and being a cyclist, it’s a given that you are going to need to have some work done on your bike sometimes. Many people use a bike mechanic or go to a bike shop, but many cyclists work on their bikes themselves.
It’s an amazing feeling fixing your bike yourself and a great skill to learn.
One thing that always needs to be in complete working order is your chain. It’s one of the bike’s most vital parts and can be very dangerous if not in complete working order. Some reasons we typically change our chain are;
Worn out
A worn out chain actually has a lot of negative effects on the bike, and although it might feel like it’s still ok, the main issue is it quickly wears down other components such as your cassette, chainrings, and even jockey wheels.
Slipping
If you find your bike slipping in the gears, it can completely put you off riding your bike and also be very dangerous as it can make you fall off.
Performance
A worn chain will not perform like a new chain. Gear changes are worse, and it doesn’t have that tight, responsive feel you get from a fresh component.
Shorting your Chain
 Replacing your chain on the surface looks like a fairly easy job, but there’s a lot you need to do and a process you need to follow to ensure it is done correctly, and you don’t cause yourself to damage the chain or your bike in the process.
One of the biggest things people do incorrectly is not shortening their chain to the right size, and also, they make a vital error of sizing it wrong and needing to buy a new chain.
In this next section, we’re going to run through how to shorten a new or existing chain without even using a chain tool.
Step One
Remove the Chain
(Skip if new Chain)
You might have bought a new chain or are shorting your existing chain. Whatever the situation, the chain must be removed from your bike so we can work on it properly. If you’re taking a chain off your bike and not shortening a new chain, we highly recommend cleaning the bike and chain and then removing it, making the job a lot less messy.
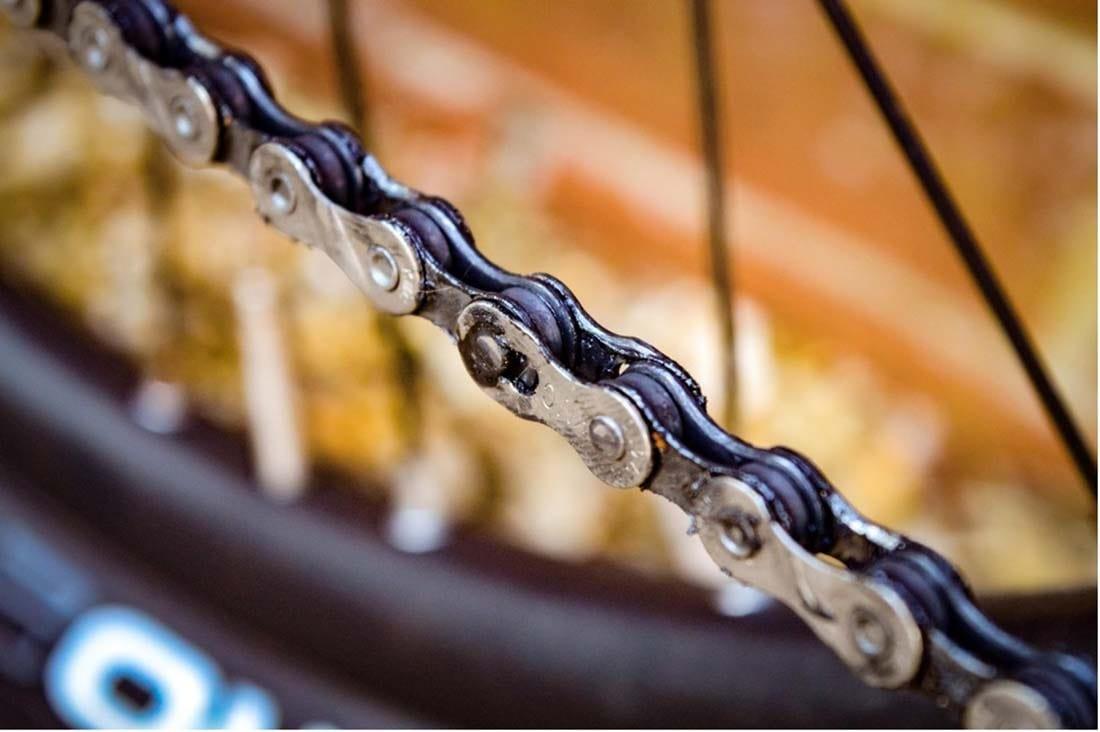
You will need to find the master link to remove an existing chain. It will be easy to see as it will be the only link on the chain with larger and longer holes than the other links. It will look like the picture below.
You will either need a chain link removal tool or, failing that, a pair of pliers or jiggling the chain will unclip this.
Step Two
Measure the Chain
Now you are going to need to measure the chain. There are two ways you can do this, the first being to count the links you have on the chain and make a note or measure it on the bike, which we recommend as the chain you have on the bike already might not be the correct length.
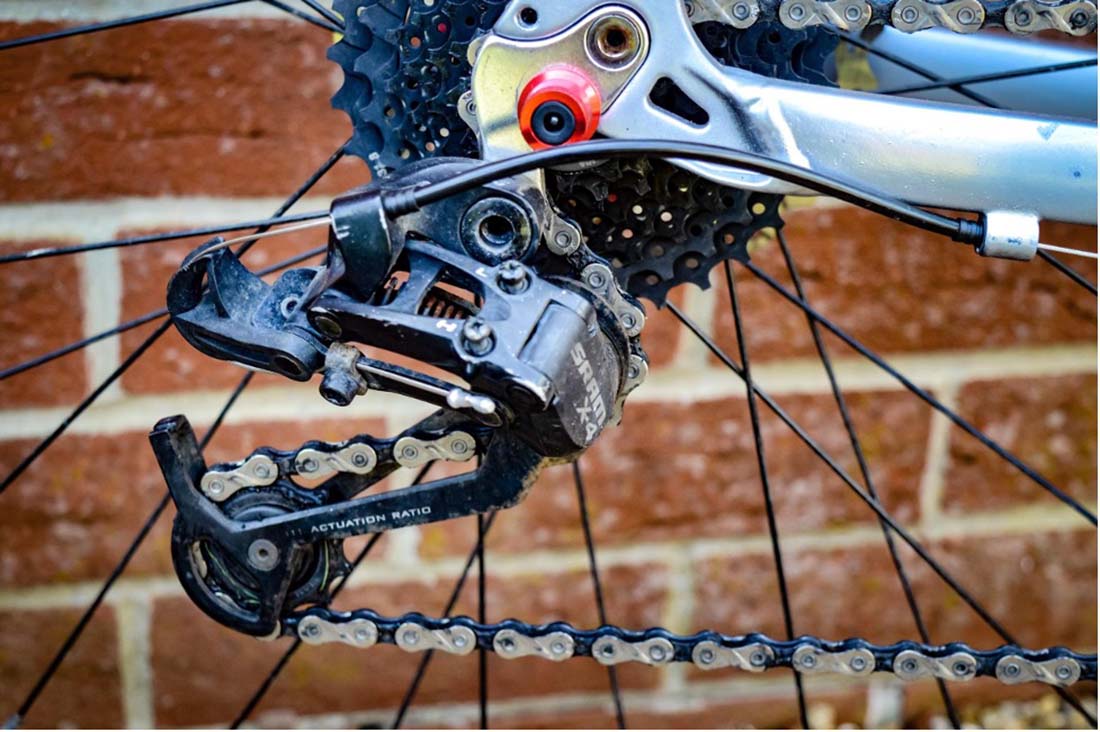
You will need to put the derailleur in the smallest cog on the rear and on the front. Typically you will find that there will be slack in the chain, and the rear derailleur will have no tension on it.
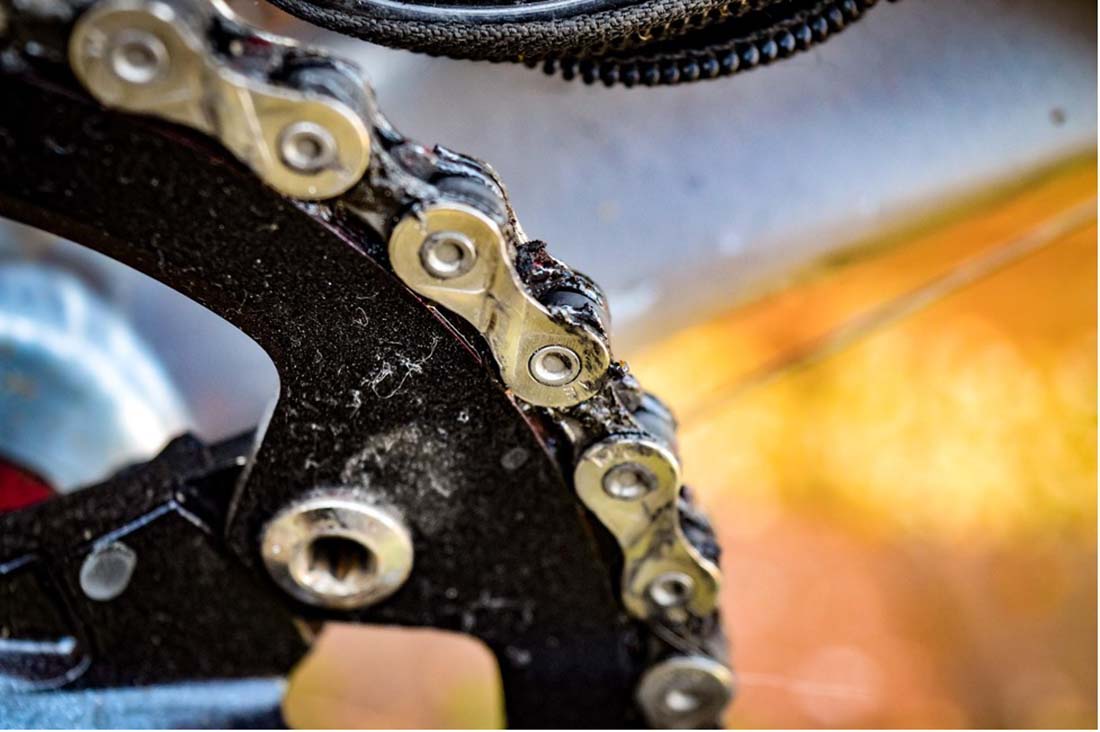
You want to hold each side of the chain and pull it until the rear derailleur picks up tension like in the photo below. Hold the link as that’s where you will need to chop the chain.
 (Something to Avoid)
A very common mistake many cyclists make is lying the chain out on the floor and measuring the new chain next to it. This is not a good way to find the correct chain length. The old chain’s links will be very stretched.
This means the original chain could have 106 stretched links, and the new one could have 107, which when stretched means the chain will be far too long.
The best way is to measure on the bike each time.
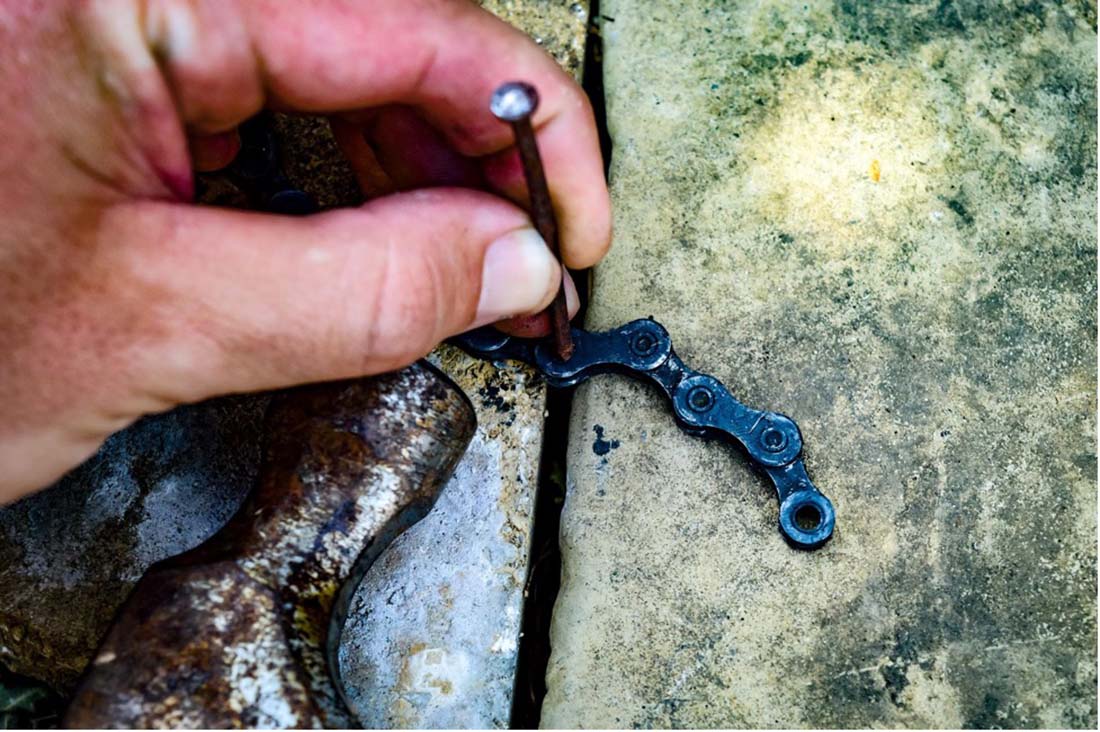
Step Three
Cut the Chain
Now you need to cut the chain, and if you are not using a chain link, you now have to get creative, and many around the house objects will work for this job. You can actually do this job with a nail, two small blocks of wood, and a hammer.
Pop the chain on the blocks of wood where you need to split it and ensure you are going to split the chain on an inside link. Pop the pin on the rivet on the inside of the link and tap it with the hammer until it pops out. These might take a bit of persuasion, but eventually, it will drop out.
You won’t need this rivet again so that you can pop it in the recycling alongside the leftover links from the chain.
Step Four
Put the Chain back on
Now you’ll want to get the chain back on the bike. This isn’t a challenging job but ensure you follow the correct path through the front and rear derailleur. Once threaded, you can add the master link.
You will need the master link to click into place, and you can either do this by pulling each side of the chain or simply applying pressure to the pedals, and it should click into place.
Conclusion
Although it’s fairly easy to shorten a chain without a proper tool, we highly recommend you use one. Most multi-tools will come equipped with a chain breaker tool, and it makes the job safer and easier.

Robbie Ferri has spent years working in a bike shop, has worked with industry leading brands on product creation, has been a semi pro athlete, and is a fully qualified strength and conditioning coach. He has broken World Records, bikepacked all over the World and raced ultra distance at a top-level.

