At some point in your life as a cyclist, you’ll need to replace a chain. As modern drivetrains have more and more cassette cogs added chains get smaller and this starts to bring down their life expectancy.
You can save yourself a lot of money by learning how to replace and set up your chain.
When should I change my chain?
On a geared bike, the answer is probably sooner than many people think. The more you keep on top of chain replacement, the longer the rest of your drivetrain parts will work. If you leave it too long, a replacement chain could also be a new cassette and front rings. How though do you know when to change your chain?
Park Tool CC-2 Chain Checker

The Park Tool CC-2 chain checker is a simple to use tool that tells you when to change your chain.
You’ll find that most bike shops in the world use this tool and will use it as a guide when quoting for a service or repair estimate.
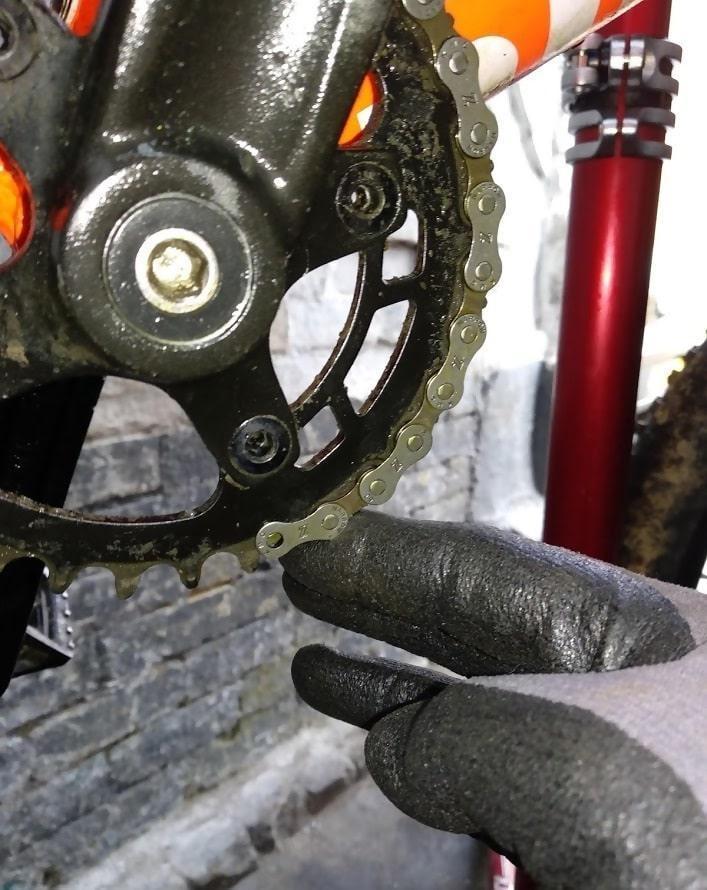
Don’t forget to wear gloves while doing these tasks as chains can be oily and messy. Having your bike on a bike stand can also make the whole process smoother, allowing for easier adjustments.
Save yourself the hassle and check your chain at home.
If there is a chain already on the bike
The first thing to do is if you have a chain already on your bike, make your new chain the same length as the old one.
Pretty simple and now all you’ll need to do is fit it and sit back knowing your job here is done unless you own a single speed and we’ll come back to them further down the article.
Pro tip: When adjusting your rear wheel, make sure to also check the alignment of your brakes. Misaligned brakes can cause uneven wear on your rear sprockets.
To carry out splitting your old chain and removing links from the new chain, you’ll need a chain tool.
Park Tool CT-5 Mini Chain Tool
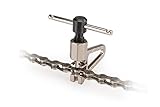
The Park Tool CT-5 chain tool is a great choice as isn’t too expensive, and it also doesn’t take up a lot of room. You can easily fit it in your tool kit and even in a saddle bag if you’re going for a longer jaunt.
It’s crucial to pay attention to chain slack during this process. Too much slack can lead to loose chains, which can be dangerous during a ride.
Double-check your adjustments by gently tugging on the chain to ensure it’s secure. Tightening axle-nuts can help in avoiding loose bike chains.
The CT-5 can break any chain from a single speed chain to a new 12-speed chain, the only chain we would avoid using it with is a BMX half-link chain.
If you have a BMX half-link chain, you’ll want to get a half-link specific chain tool. When using a chain tool, it is better to take your time and do the job slowly.
It is very easy to take out a link more than you meant to accidentally or to force a pin through and damage a side plate on the chain.
If there is no chain on your bike
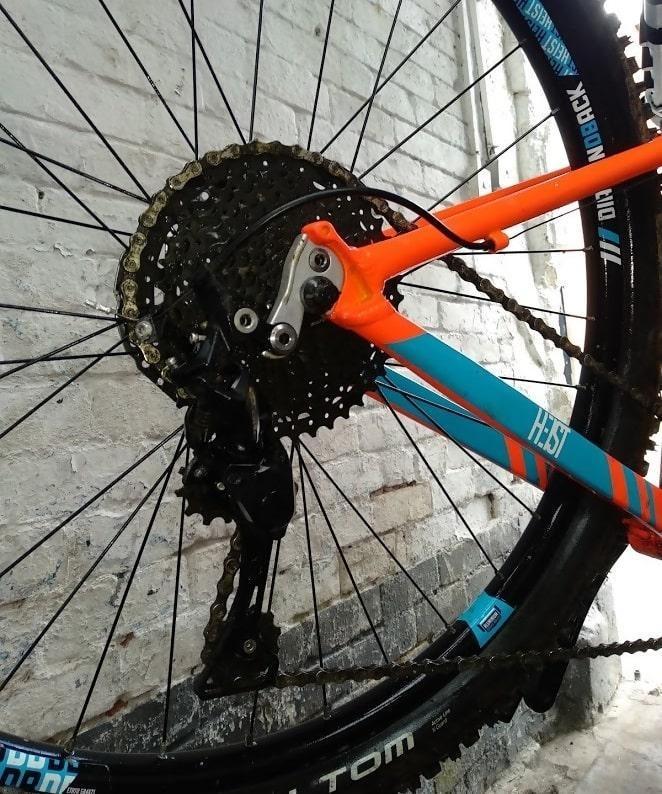
The first thing you need to here is you need to shift your front derailleur on to the big ring and your rear derailleur on to the smallest cog.
Sometimes people neglect the rear dropouts, but these components are critical when you’re tightening or replacing a chain. Make sure they’re clean and properly aligned for a smoother chain replacement process.
Then look at your chain and if it has an outer plate at one end and the inner plate at the other, if it has an outer plate then pull that end through the front derailleur and down to around the 5 ‘o’ clock position, just before the bottom dead center.
Take the rest of the chain and wrap it around the largest rear cassette cog, still keeping your derailleur in the smallest cog. Then pull the rest of the chain towards the chain and master link on the front chainring.
Make sure you keep it tight. Find the closest rivet at which points the chain can be joined. Remember an outer can only join an inner and vice versa. If when you pull the chain snug, you have an outer to outer, you’ll need to go to the next inner.
To account for the fact that we missed the derailleur, we’ll then go along one more link. A link is an inner and outer or 2 rivets.
The link will be the one hanging down, not one of the ones on the front chainring. Going with an extra link will account for the room taken up by the chain passing through the derailleur.
The largest to largest method works for all geared bikes. If you have a bike with rear suspension, you’ll also need to disconnect your shock and compress the linkage. Once you have done that you can follow all the steps above.
Single speed chain tension
There are 2 main types of single speed. One is the type that uses some form of horizontal dropout or some sort of sliding dropout. The other type is a vertical dropout conversion. We’ll start with vertical dropout.
When running a vertical dropout as a single speed, you’ll quickly realize that with no room to move your wheel you can’t get a perfectly tensioned wheel. What you need then is chain tensioner. Chain tensioners come in 2 varieties. Push down or push up.
A push down tensioner is one that pushes down on your chain to create the correct tension. A push up does the opposite.
For many people, the push up is the better model as it allows your chain to wrap around more of the rear cog. If you use a push down and don’t get enough chain wrap, it will constantly feel like your bike is trying to change gear.
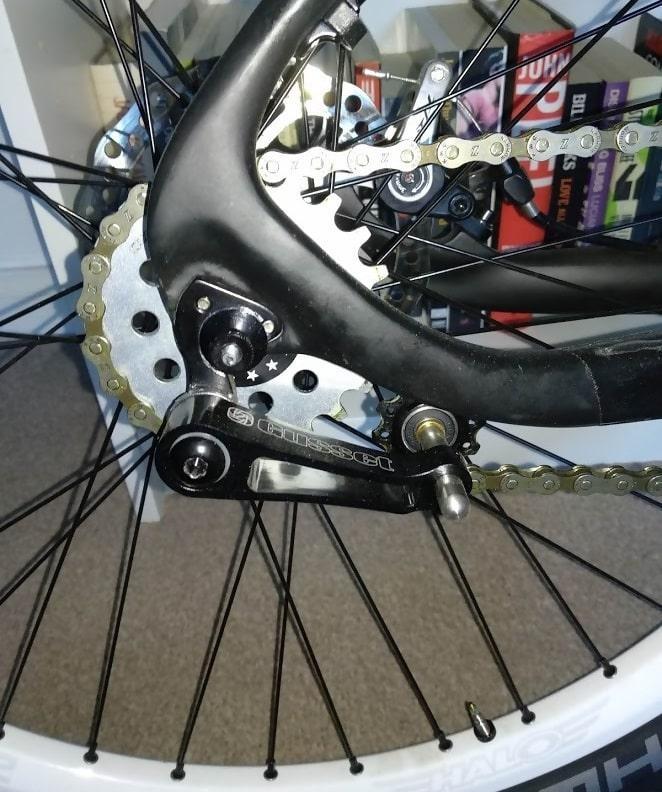
Paul Components Melvin Chain Tensioner
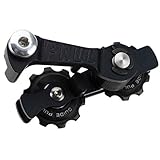
The Paul Components Melvin chain tensioner is an American made piece of art that makes sure you get enough chain wrap and don’t have to worry whether your frame prefers a push up or push down model of tensioner.
You’ll want to make sure the wheels on the Melvin line up with your rear cog and once you’ve done that you’ll be all good to go.
Horizontal dropout chain tension
There are 2 ways to tension your chain on a set of horizontal dropouts. One is to walk your wheel into place, and the other is to use chain tensioners, of a different style from above. If you’re really lucky your frame will have built-in tensioners or sliding dropouts.
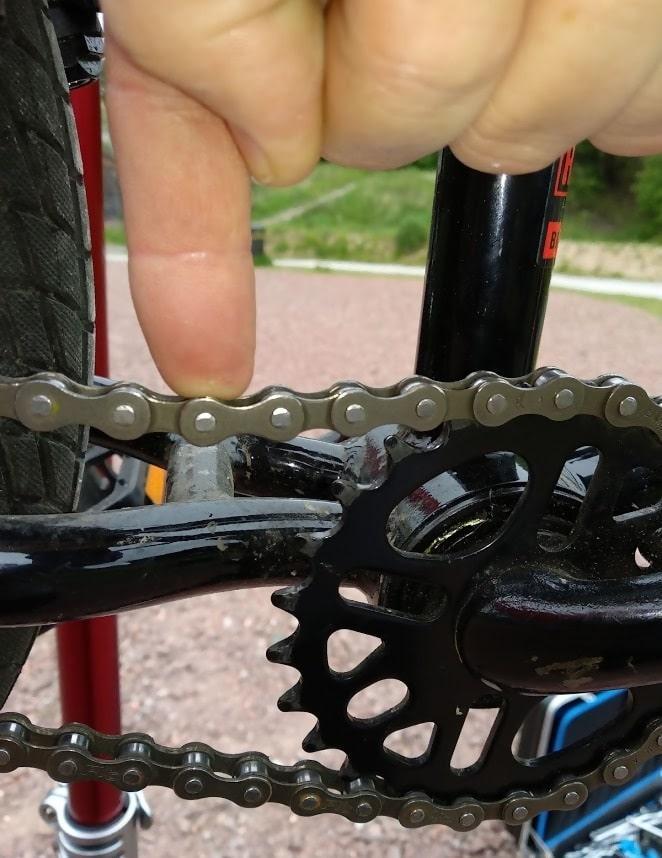
Regardless of the system, the end goal is a perfect chain tension. What you are aiming for is ½” of deflection. You can check this by prodding the top of your chain with your finger. You’ll also want to make sure your wheel is still centered when you get this tension.
If you run your chain over tight, you’ll wear down your drivetrain and bearings super fast. If you have your chain too loose, you’ll find yourself pedaling squares rather than circles and possibly having the chain fly off.
Walking your wheel back
For either system of rear end, you’ll need to set your chain up in a similar way to the geared bike. You’ll just run it over your rear cog and front ring and then pull it tight.
You’ll not need to add in the extra link this time. You’ll more than likely find your chain is loose and you’ll need to tension it.
If you have chain tensioners, use them to slowly walk the wheel back, turning each side by a quarter turn and watch as your wheel moves back.
Keep it centered and watch as your chain will go from loose to tight pretty fast. Slow and steady, and this is an easy job. Sliding dropouts will work in a similar manner.
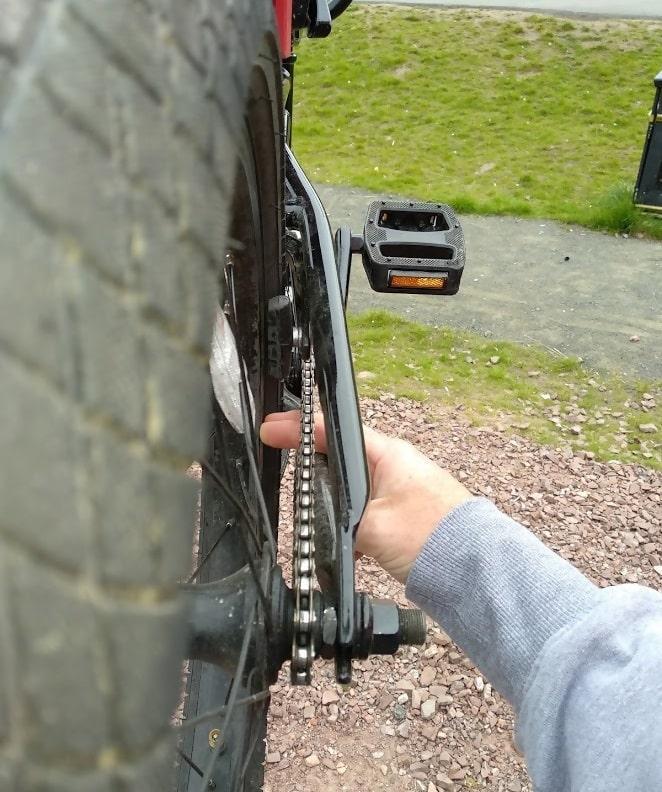
To tighten a rear end without tensioners, you’ll need to pull the wheel back. Tighten slightly and see how the chain tension feels. If it is fine, tighten your wheel nuts down properly.
If not loosen one nut and push the wheel rim to the other side.
Tighten the side you loosened and now loosen the opposite side. Now push the wheel back to the center. Check your chain tension and repeat as often as needed.
Final Words
So there you have it—a comprehensive guide on how to replace and tighten a bike chain. Remember, maintaining a well-tensioned chain is not just about comfort, but also about safety and extending the life of your bike’s drivetrain.
So grab your gloves, set up your bike stand, and take the time to do these essential adjustments. You’ll thank yourself later.
I’ve spent way more time in the bike trade than anyone should reasonably want to. In that time I’ve wanted to make cycling jargon and marketing easier to cut through to help people get the bike of their dreams.
When I’m not writing about bikes, I can be seen out bikepacking on single speed bikes or teaching kids how to ride.

