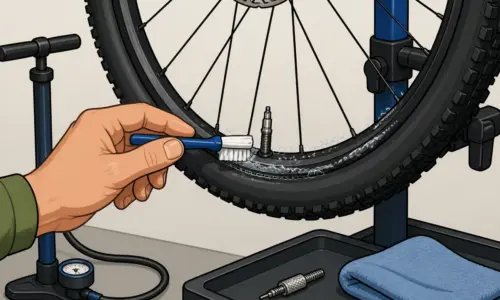
If you are asking, “how much tubeless sealant do I need?”, the practical answer is measured in milliliters per tire, not in vague splashes from the bottle. Start near the middle of the range for your tire size, then adjust for casing porosity, inserts, sealant formula and the conditions you ride in.
This assumes you already have tubeless-compatible wheels and tires. It does not cover converting a non-tubeless wheel safely.
The short answer: how much tubeless sealant do you need?
Use these as practical starting quantities per tire. For normal riding, the middle of the range is the sensible default. Do not automatically pour in the maximum amount; more sealant is not a free puncture-protection upgrade.
| Tire type and typical width | Sealant per tire |
|---|---|
| Road, 25-32 mm | 30-45 ml (approximately 1.0-1.5 US fl oz) |
| Gravel, 35-50 mm | 60-90 ml (approximately 2.0-3.0 US fl oz) |
| XC/light trail MTB, 2.1-2.4 in | 90-120 ml (approximately 3.0-4.0 US fl oz) |
| Trail/enduro MTB, 2.4-2.6 in | 120-150 ml (approximately 4.0-5.0 US fl oz) |
| Downhill or very high-volume MTB, 2.5-2.6 in | 150-180 ml (approximately 5.0-6.0 US fl oz) |
| Fat bike, 4.0-5.0 in | 180-240 ml (approximately 6.0-8.0 US fl oz) |
These are rounded starting ranges, not engineering laws. Actual tire width, casing construction, rim width, tire inserts and the sealant manufacturer’s instructions can all change the appropriate dose.
As simple defaults, start around 35 ml per tire for a road bike, 75 ml for gravel and about 120 ml for a typical trail MTB. A fat bike will generally be closer to 200 ml per tire. Those amounts are per tire: a road-bike pair needs about 60-90 ml total, while a fat-bike pair may need 360-480 ml.
Quick adjustment guide
Tire size is the best starting point, but it is not the only factor. Use the upper or lower end of the range when the following situations apply.
| Situation | Adjustment |
|---|---|
| New or porous casing | Use the normal starting dose, then check and top up after installation rather than doubling it immediately. |
| Very high-volume tire | Use the upper end of the range. |
| Tire with an insert | Follow the insert and sealant manufacturer’s instructions; the insert changes the available space and may need a different quantity. |
| Narrow, low-volume road tire | Use the lower end when the casing is not notably porous and the tire maker supports it. |
| Hot or dry conditions | Inspect more often because sealant can dry faster. |
| Manufacturer gives a substantially different quantity | Use the manufacturer’s guidance, particularly for unusual casings, inserts or sealant formulas. |
For most riders, the middle of the stated range is the safest practical starting choice. Narrow road tires are where beginners commonly overbuy: 30-45 ml is usually enough for a 25-32 mm tire. At the other end, a high-volume MTB or fat-bike tire generally benefits from a materially larger dose than a road tire. The exact figure should still come from the range and the product guidance, not from a heroic pour.
Manufacturer guidance from Stan’s NoTubes, Orange Seal or Muc-Off should take precedence when it differs substantially from a general chart.
When should you use more or less sealant?
Use more when the tire is physically larger, the casing is unusually porous, or your routes contain plenty of thorns and sharp debris. A rider on rocky, thorny trails may reasonably choose the upper end of the range. That still does not guarantee that every puncture will seal. Large cuts, torn sidewalls and pinch damage remain jobs for a plug, boot or spare tube.
Porous casings need a slightly different approach. Some sealant can migrate into the casing during initial setup, particularly with a new tire. Inflate the tire within the tire and rim manufacturer’s limits, rotate it thoroughly, inspect for leaks and check the liquid again after the first ride or overnight. Top up what is missing. Blindly doubling the initial dose just creates more weight and more dried residue to clean later.
Use less only at the narrow end of the scale, and only when the tire has a low-volume, relatively non-porous casing and the manufacturer’s guidance supports it. There is little value in putting 120 ml into a 28 mm road tire unless a specific setup calls for it.
Too much sealant adds weight, makes tire removal messier and leaves a larger layer of dried latex inside the casing. Once there is enough liquid to coat the interior and deal with suitable small punctures, the benefits diminish.
How to add the right amount of sealant
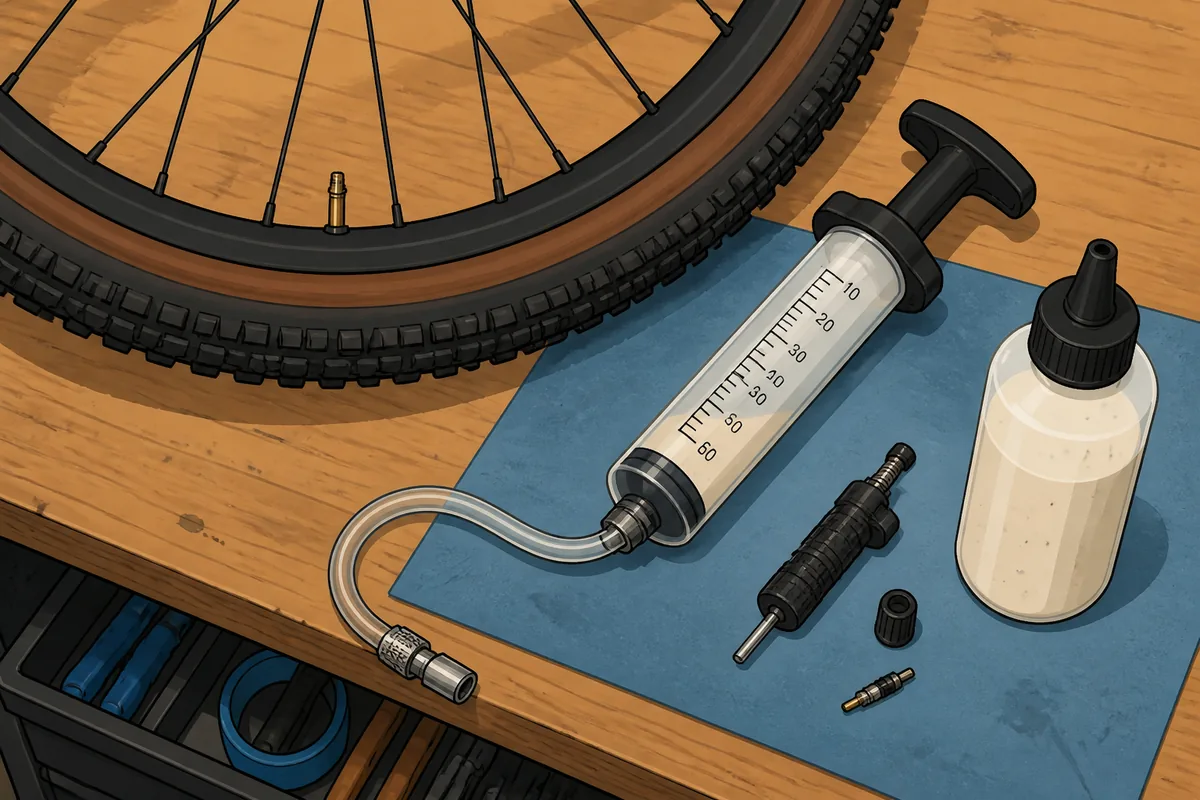
The cleanest method is to remove the valve core and inject a measured dose through the valve. A graduated injector, bottle or suitable sealant syringe makes this straightforward. Measure in milliliters rather than guessing from a free-poured bottle; US fluid-ounce conversions are approximate, and the bottle’s own scale is usually more useful than kitchen arithmetic.
Alternatively, pour the sealant into the tire before seating the final section of bead, if that tire-and-rim combination allows it. This can be quick, but it is easier to spill and less convenient if you are still learning the setup.
- Remove the valve core if you are injecting through the valve.
- Measure the dose for one tire.
- Inject the sealant, then reinstall the valve core carefully.
- Inflate the tire only within the tire and rim manufacturer’s limits, and check that the bead is seated evenly.
- Rotate, shake and turn the wheel in several directions so sealant reaches the bead and casing.
- Inspect for leaks and recheck pressure after the first ride or after leaving the tire overnight.
Do not leave sealant sitting in the valve. It can dry around the core and restrict inflation. If sealant gets into the valve, remove the core and clean or replace it as appropriate. Avoid using a syringe exposed to incompatible chemicals, solvents or old product residue. Sealant formulas are not all interchangeable.
How often should you check and top up tubeless sealant?
Check your sealant roughly every two to three months as a starting point. Shorten that interval in hot, dry conditions, with porous casings or when the bike is ridden frequently. A bike that has been stored for months also deserves a check before its next proper ride.
The calendar is only a prompt. Checking the tire is more reliable. Signs of low or dried sealant include repeated pressure loss, a dry interior when the tire is inspected, visible clumps or no liquid movement when you shake the wheel.
When opening the tire, do not automatically add a full fresh dose. First find out what remains. If there is still plenty of liquid, distribute it and continue riding. If only dry residue is left, clean out the worst of it and add a measured new dose.
Common mistakes with tubeless sealant quantity
- Confusing one tire with a wheelset: a recommended 60 ml may mean 60 ml per tire, not 60 ml for both wheels.
- Using a road-bike dose in an MTB tire: larger casings generally need materially more sealant.
- Adding a full dose at every service: check what is left before adding more.
- Ignoring inserts: inserts change the internal space and may require a different volume or compatible formula.
- Treating all sealants as identical: follow product guidance for compatibility with tires, inserts, valves and rims.
- Assuming more prevents every flat: sealant helps with suitable punctures, not every cut or tire failure.
If you are choosing a product as well as a quantity, see our guide to the best tubeless sealant. Measure the dose, use the middle of the appropriate range and check the tire rather than pouring in more on autopilot.
Frequently asked questions
Can you put too much sealant in a tubeless tire?
Yes. Extra sealant adds rotating weight and mess, and usually brings diminishing returns once the tire has enough liquid for its intended use.
How much tubeless sealant do I need for a road bike?
Start with about 30-45 ml, or roughly 1.0-1.5 US fluid ounces, per 25-32 mm tire unless the tire manufacturer specifies otherwise.
How much sealant do I need for gravel tires?
Most 35-50 mm gravel tires need about 60-90 ml, or roughly 2.0-3.0 US fluid ounces, per tire.
How often should I add tubeless sealant?
Check it every two to three months as a starting point, then shorten that interval in hot, dry conditions or with a porous casing.
Does tubeless sealant quantity change with tire inserts?
Usually, yes. Inserts change the available space and can require a different volume, so follow the insert and sealant manufacturer’s guidance rather than automatically adding a full extra dose.

I’ve spent way more time in the bike trade than anyone should reasonably want to. In that time I’ve wanted to make cycling jargon and marketing easier to cut through to help people get the bike of their dreams.
When I’m not writing about bikes, I can be seen out bikepacking on single speed bikes or teaching kids how to ride.