When it comes to bikes, there’s something really special about riding a classic bike. They look incredible, are silky smooth to ride, and give off all the retro vibes you could want.
I love riding my retro bike, but the handlebars and shifters are the only things that let it down for me.
Not to worry, there is a fix! To change the handlebars on a classic bike and use more modern technology, the one thing that has to come off the bike is the quill stem, and you can do this by using a quill stem adapter.
In this article, we’re going to everything you need to know by discussing:
- What Is A Quill Stem?
- What Is A Quill Adapter?
- Benefits Of Using A Quill Stem Adapter
- Step By Step Guide On Fitting A Quill Stem Adapter
What Is A Quill Stem?
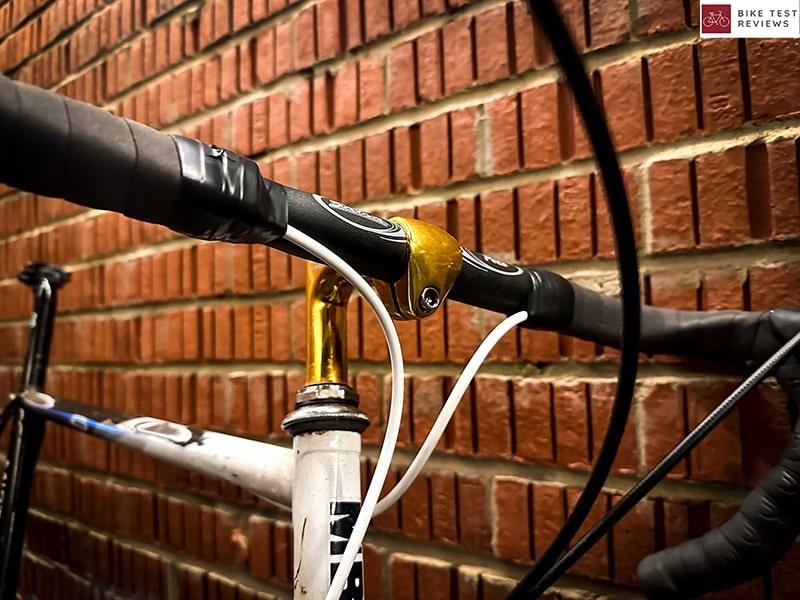
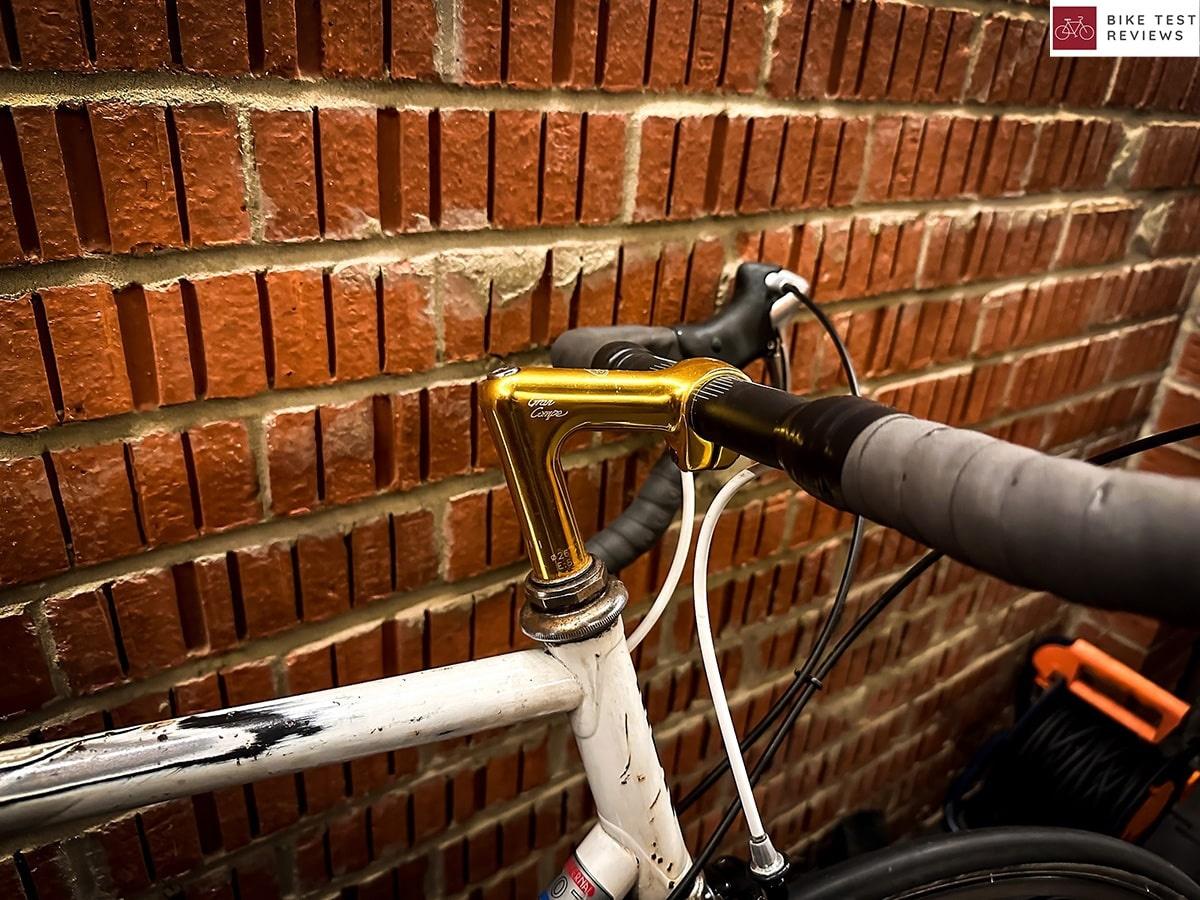
The first thing to speak about is what a quill stem is. A quill stem is mainly seen on older classic bikes and some budget bikes. It’s the bike part that connects the forks to the handlebars.
Compared to modern stems, they are much smaller in diameter, and they attach to the forks inside instead of around the fork steerer tube itself. They come in all shapes and sizes and are very easy to adjust when it comes to height.
What Is A Quill Stem Adapter?
A quill stem adapter is a device that is designed to convert only a bike fork to work with a modern bike stem. It’s ideal for converting a classic bike to using modern components. It means the bike will be able to work with modern stems and then, in turn, fit modern handlebars.
They are readily available, and a great example of a quill stem adapter is the Profile Design quill stem adapter. Coming in at $$ (check latest price) is a low price for a solution many cyclists even up facing over time.
")
Benefits Of Using A Quill Stem Adapter
There are a lot of benefits to using a quill stem adapter. Here’s why we recommend converting over:
Use Modern Parts
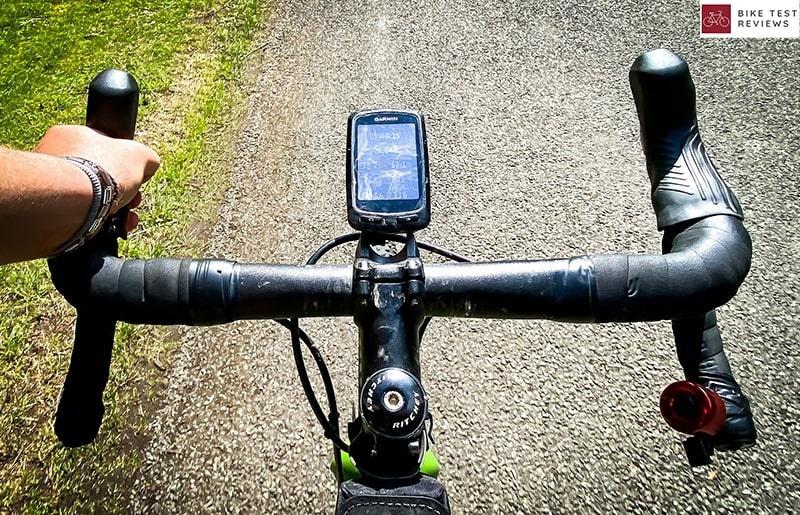
The first thing to mention regarding the benefits of using a quill stem adapter is the option to use modern components. This means parts such as aero handlebars and modern STI brake shifters are all at your disposal.
Better Compatibility
When it comes to compatibility, you have a much wider choice when it comes to stems of different angles, lengths, and designs when you have used an adapter. It is ideal if you are going for a bike fit and want the perfect position.
Stiffer And Lighter
Modern components are much better when it comes to performance. They are lighter, stiffer, and generally much more durable. The conversion is going to give you a better feel and could help you beat PBs.
Step By Step Guide On Fitting A Quill Stem Adapter
When it comes to fitting a quill stem adapter, it’s not a challenging task, but there’s a lot you need to consider when doing it. Here’s our step-by-step guide.
What Are You Going To Need?
When it comes to changing a quill stem adapter, you are going to need a few tools and parts to ensure you can not only change the stem but also ensure the bike works as it should. Here’s what you need:
Tools
- Allen Key Set
- Rubber Mallet
- Scissors
Parts
- Modern Stem
- Modern Handlebars
- Bar Tape
Step One: Remove The Handlebars
The first thing we need to do is remove the old quill stem. In my experience, removing the handlebars is the best place to start. Locate the Allen key bolt on the front and loosen it. Then you will need to undo the bar tape off the bars using the scissors and undoing it.
Once you have done this, you must remove the brake levers. On classic bikes, the brake levers generally undo with a bolt that is situated under the handle. Now you should be able to slide the bars out from the side.
Step Two: Remove The Quill Stem And Insert The Adapter
Now it’s time to remove the quill stem. Undo the bolt on the top of the stem itself. It should come free easily, but if it doesn’t, use the rubber mallet and knock it down to release it. It should now slide right out.
Now we will save ourselves some time by adding the new modern stem to the adapter before we slot it in. Slide it on from the bottom of the adapter up to the top and tighten the bolts on the rear of the stem.
Next, you are going to need to insert the adapter at the correct height and then tighten the bolt on the top. You are going to want to try and get the stem pointing in the same direction as the tire points forward.
Step Three: Add The Handlebars And Components
Now the stem is ready for you to add the handlebars. You can do this by removing the four bolts on the front faceplate, slotting the handlebars in, and doing them up again. Ensure they are all at the correct torque; typically, it’s around 5 nm of torque.
Then you will want to add the brakes you took off earlier and then finish the job by adding the bar tape. Once it’s all back together, check to make sure all the bolts are nice and tight.
A Final Thought
Using a quill stem adaptor comes with a lot of benefits. It lets you use modern components such as handlebars, stems, and even groupsets on classic bikes. We highly recommend changing it over, and it’s an excellent upgrade for a classic bike.
Read also: Revamping Your Retro Ride: A Step-by-Step Guide to Upgrading an Old Bike with Modern Components

Robbie Ferri has spent years working in a bike shop, has worked with industry leading brands on product creation, has been a semi pro athlete, and is a fully qualified strength and conditioning coach. He has broken World Records, bikepacked all over the World and raced ultra distance at a top-level.

