Every so often, adventure calls, and for many of us, getting away can be difficult if you are a cyclist though you always have the option of going away cycling. Many of us turn to bikepacking as a holiday instead of the typical package from a travel company.
Watch The Video
This is where you take everything you need to survive on your bike and go away just to explore and have an adventure somewhere that interests you.
It can be difficult to know where to start, and just grabbing your old MTB learning on the road isn’t the best idea.
In this article, we’re going to tell you all about how to set up your bike for bikepacking and give you an idea of what you need and where you need to put it all. Let’s get your bike ready for its first adventure.
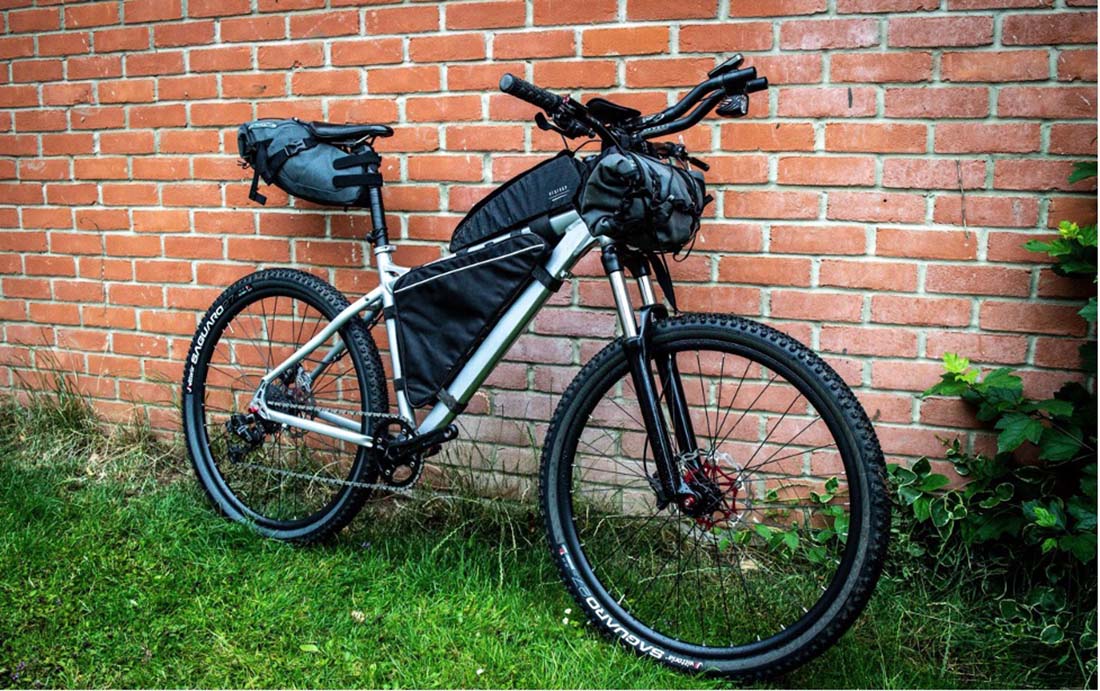
The Bike
The first thing you’re going to need is a bike. For bikepacking, you can use any kind of bike you like. We advise you to use a bike fit for the journey you’re going on.
It’s worth mentioning that although we are doing this on a mountain bike, this will all work for any type of bike, such as a road bike, touring bike, gravel bike, and even a hybrid bike. Bikepacking equipment is all very interchangeable when it comes to using it on different bikes.
Gearing
When it comes to bikepacking, you’re going to want the correct gearing for climbing hills and for cycling on tired legs. So this means getting those ratios nice and low.
Typically when I plan to go bikepacking, I use a smaller front chainring which only takes a few minutes to change out. Although you may feel undergeared on your first flat day, you will want every low gear you can get after a few days of riding. It also goes a long way when carrying a few kilos of extra luggage.
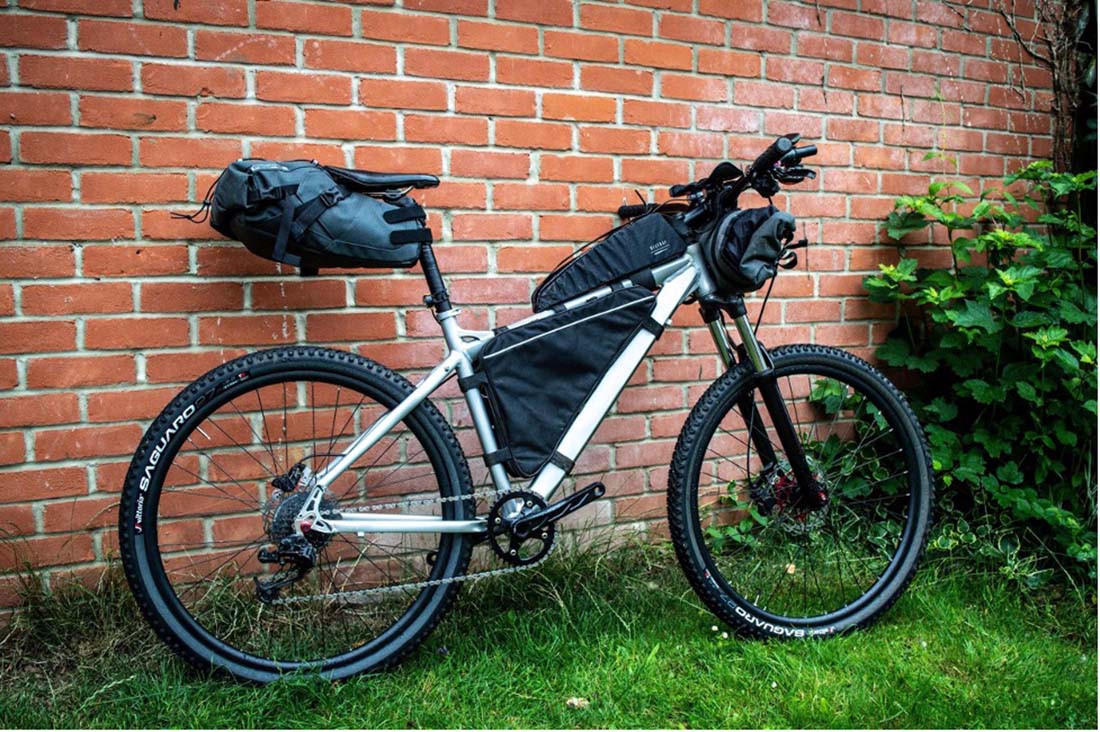
Bags
Bikepacking is all about carrying luggage, and you’re going to need some bags to do this. In the next section, we’ll discuss the different types of bags and what we recommend keeping in them so you can get to everything you need easily.
Top Tube Bag

A top tube bag sits on top of the frame and is the most accessible bag you will get when it comes to bikepacking. It’s ideal for keeping your wallet, phone, and power bank in.
These are items you typically need access to a lot when you’re traveling, and being able to get to them while pedaling really helps.
Frame Bag
The frame bag sits in the center of the frame, and they come in all shapes and sizes. We’re using a full-frame bag here, but you get half-frame bags, quarter-frame bags, and even mini-frame bags.
This is a great place to keep things you need access to often, which can take up a lot of room. I typically think it’s perfect for food and water, maybe even a rain jacket for emergencies.
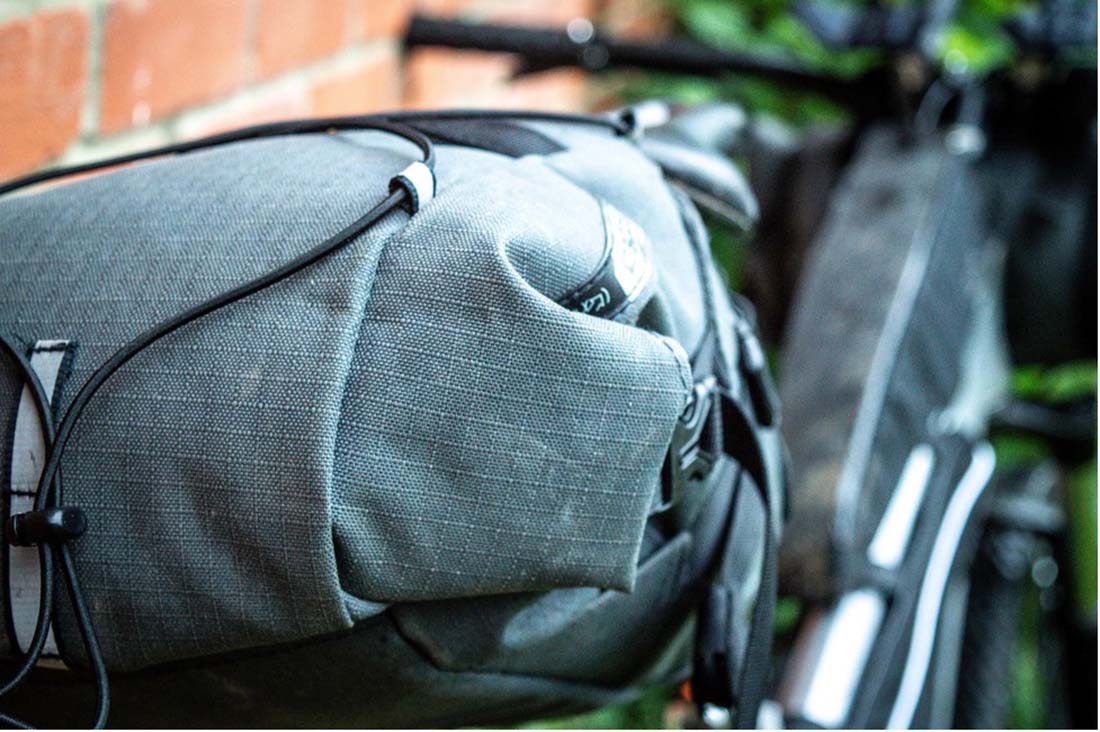
Handlebar Bag
The handlebar bag is an excellent way of carrying many things while cycling. They work better on mountain bikes compared to road bikes but are still a great tool for bikepacking either way.
They do take a bit of time to get things out of, and we recommend keeping clothes and spares in here as they are not used often.
Read next: The 8 Best Bike Handlebar Bags: Reviews & Buying Tips
Saddlebag
The saddle bag is one of the most popular choices of equipment for bikepackers. It can store a huge amount in, is easy to get to, stays well out of the way, and double up as a pillow when sleeping rough.
We recommend when getting a bag like this to ensure it can strap up tight, so it doesn’t wobble when riding.
See also: The Best Bike Saddle Bags: Reviews & FAQ
Aero Bars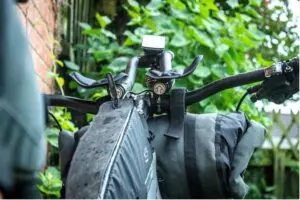
Another great bit of kit you can add to your bike is aero bars. They are not all about getting into an aerodynamic position but they give you an extra position to be in when bikepacking.
This means on those longer days you can take the pressure off your hands and your back without having to stop the bike.
Read next: Best Clip On Aero Bars
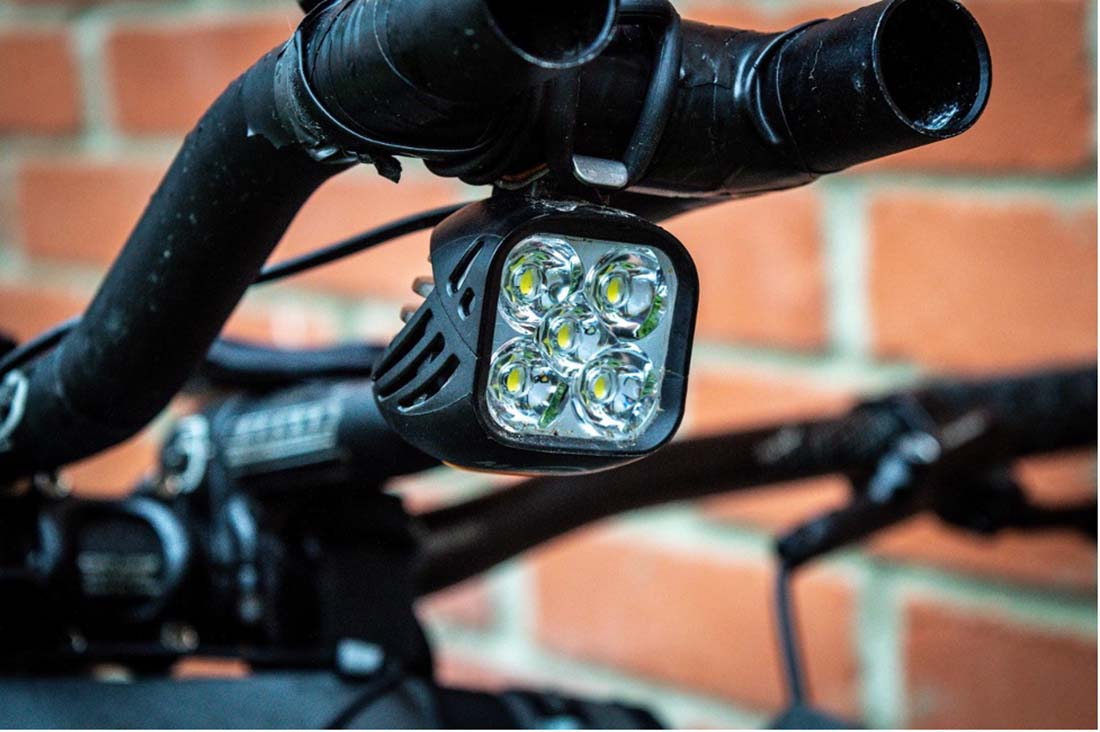
Lighting
The next thing you want to think about is lighting. Lighting is vital for your safety at night and even during the day if you’re going through tunnels.
We recommend getting lights that are not only powerful enough for people to see you but also for you to see the road clearly in front of you. Another thing you need to consider is how long they last.
We recommend getting lights that on a medium or low setting can do more than 12 hours. This would give you enough lighting for nearly two nights while away bikepacking.
We also highly advise you to take a spare rear light and, if you are riding at night, to wear high visibility clothing as this will add to the safety of your adventure. Riding at night is an amazing experience, and we recommend everyone to try it at least once.
Navigation
How can you go bikepacking if you don’t know where you’re going. Having a small navigation system will be very helpful, and they don’t cost a huge amount of money. Many brands on the market, such as Wahoo, Garmin, and Hammerhead, make units that will keep you on track.
You can download maps and add routes to these via a computer or even your phone. They can even tell you the climbing profile of the route and warn you when the nasty hills are approaching.
We recommend that you take all the cables you need to charge these and a power bank to ensure you can always have it running and don’t get lost while you’re somewhere you don’t know. It’s always a great idea to have the routes on your phone as well in case anything goes wrong.

Ready to Ride
Setting your bike up with all this kit is going to really help you when it comes to bikepacking. It will give you all the space you need to carry everything for an epic adventure.
When getting into bikepacking, we recommend starting with a few overnight rides before tackling a big trip, and training consistently beforehand will make the miles much easier on the legs.
Similar Products
If you like this bike setup in this article, here are similar products which you can purchase that will work perfectly for your next adventure:
| Handlebar bag: | VIEW ON AMAZON |
| Saddlebag: | VIEW ON AMAZON |
| Top Tube Bag: | VIEW ON AMAZON |
| Frame Bag: | VIEW ON AMAZON |
| Aero Bars: | VIEW ON AMAZON |
| Lighting Kit: | VIEW ON AMAZON |
| Navigation: | VIEW ON AMAZON |
Robbie Ferri has spent years working in a bike shop, has worked with industry leading brands on product creation, has been a semi pro athlete, and is a fully qualified strength and conditioning coach. He has broken World Records, bikepacked all over the World and raced ultra distance at a top-level.

