Certain types of mountain bikes are equipped with air suspension forks. This crucial component mitigates impacts experienced by the bike, leading to a more cushioned, responsive, and lively suspension system.
Despite its significance, it’s often a neglected feature that rarely receives proper adjustment if adjusted at all. This article offers an easy-to-understand, comprehensive guide for beginners on how to maintain your air fork and external suspension components.
Why It Matters?
The front suspension serves to prevent numbness in the arms and improves overall riding feedback. Maintenance should not be a burden; instead, it’s a free improvement to your riding experience.
If you dedicate a bit of time to adjust it according to your preferences, you might be surprised to discover that you’ve been under-utilizing your bike all this time.
When correctly adjusted, a suspension fork responds more quickly to various terrains, ensuring smooth and efficient rides whether you’re on flat ground, going uphill, or cruising downhill. Conversely, a poorly adjusted suspension can result in an uncertain and sluggish performance, no matter the terrain. Your bike deserves better, and so do you.
What Tools Do You Need?
In this maintenance guide, we’ll be concentrating on the fundamentals of outer suspension components, presuming that the internal parts are in good working order.
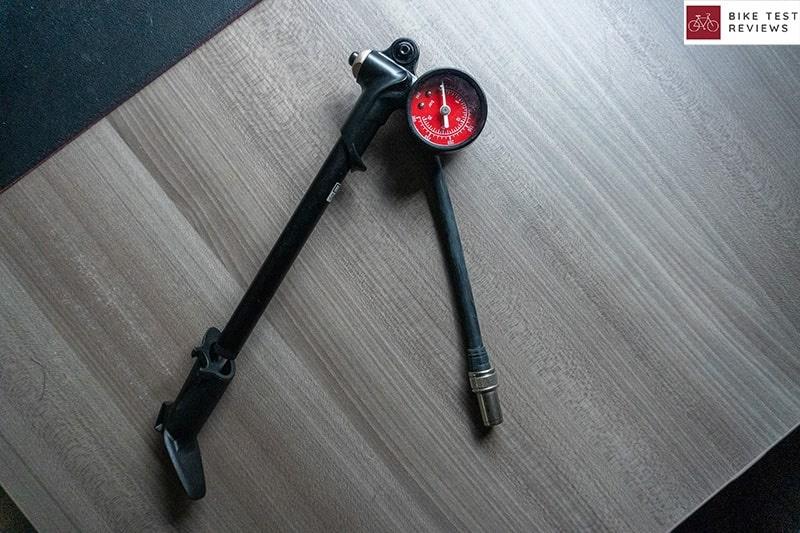
A key tool you’ll need is a shock pump, a device specifically designed for front or rear suspensions. It delivers air solely into the suspension fork’s air chamber, maintaining a consistent pumping action.
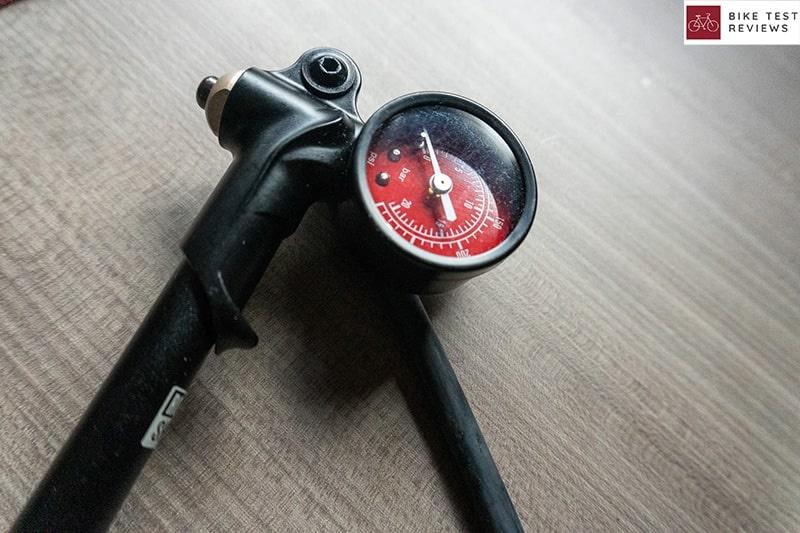 This function is crucial and can’t be replicated by a standard hand pump. Moreover, the pressure gauge on a shock pump is calibrated differently from those on regular hand pumps.
You’re free to choose any brand of shock pump as they all serve the purpose admirably.
Additional tools such as a set of Allen keys, a specific brand of bike lube, a torque wrench, and a bottle of isopropyl alcohol will also be useful. These will ensure that your air suspension is clean and well-lubricated.
Our objective here is to clean and adjust the crucial components of the suspension fork to enhance its reactivity. At the same time, we aim to carry out initial modifications that will unlock the true potential of your suspension when hitting the trails.
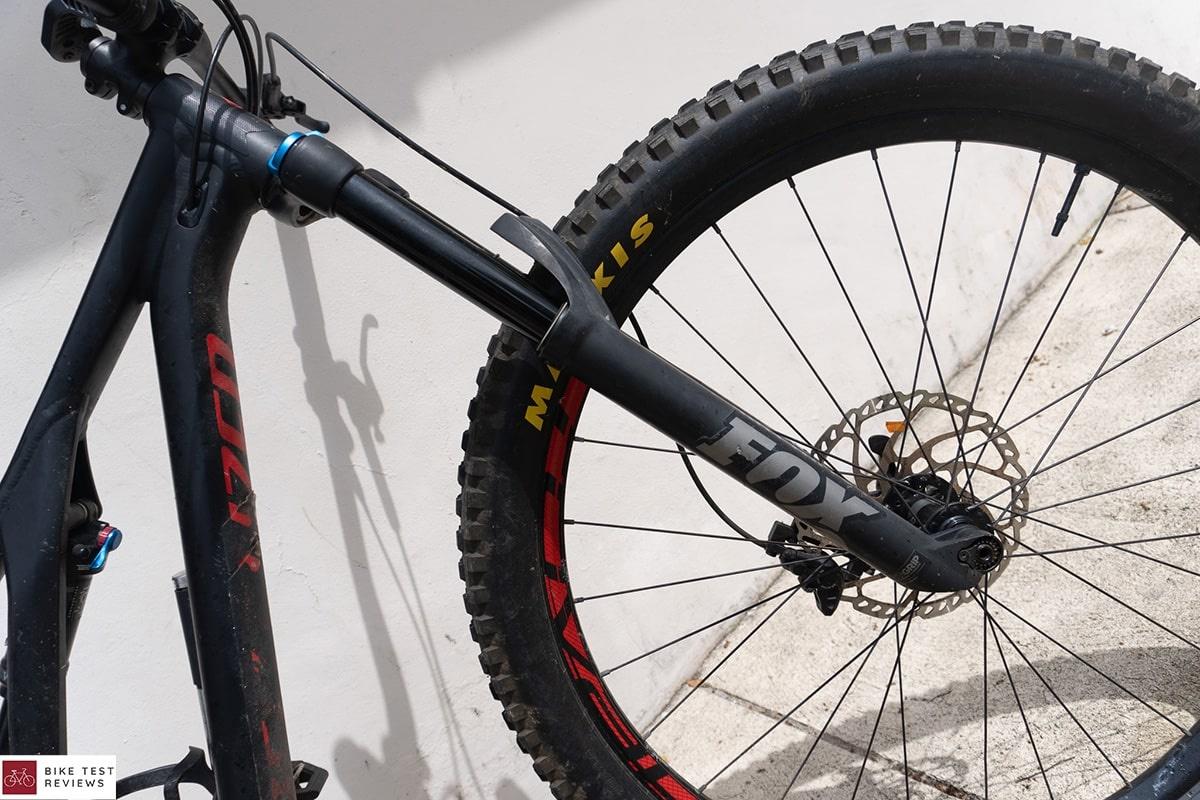
Suspension Fork Cleanup
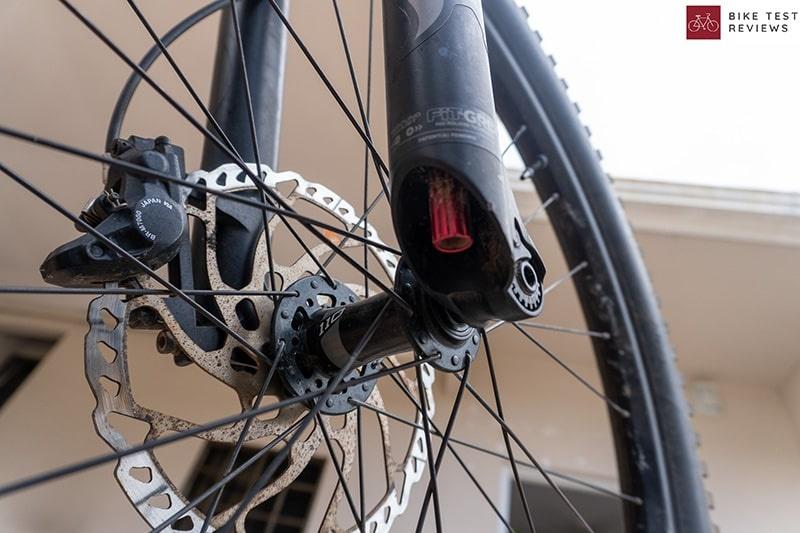
Keeping the stanchions and their contact areas clean is crucial in preventing any accumulated dirt or dust from scratching and damaging your suspension, both internally and externally.
Using paper towels soaked in isopropyl alcohol is an effective way to remove any stubborn dirt on the stanchions before it can cause permanent damage.
You can easily clean the accumulated dirt and dust from the seal rings around the stanchions, which follow the suspension’s full range of motion.
Typically, these rings can be found on either side of the stanchions, serving as a barrier against dirt buildup. You can use a pick to lift them and thoroughly clean the area underneath.
It’s also a good idea to re-lubricate these areas with some fork or seatpost oil. You don’t need to apply too much before resealing the rings with your pick. Apply this oil, manually compress the fork to distribute the lubricant, and prevent the bearings from wearing out, ensuring a smooth suspension motion.
Use alcohol to clean the body of the stanchions and then wipe them with a paper towel. This process gently removes any remaining dirt before it can cause scratches or corrosion.
This thorough cleanup is performed to guarantee that the moving parts do not obstruct the suspension’s full potential. Over time, these components can transmit dirt to the suspension fork and the bike itself.
Adjusting The Pressure
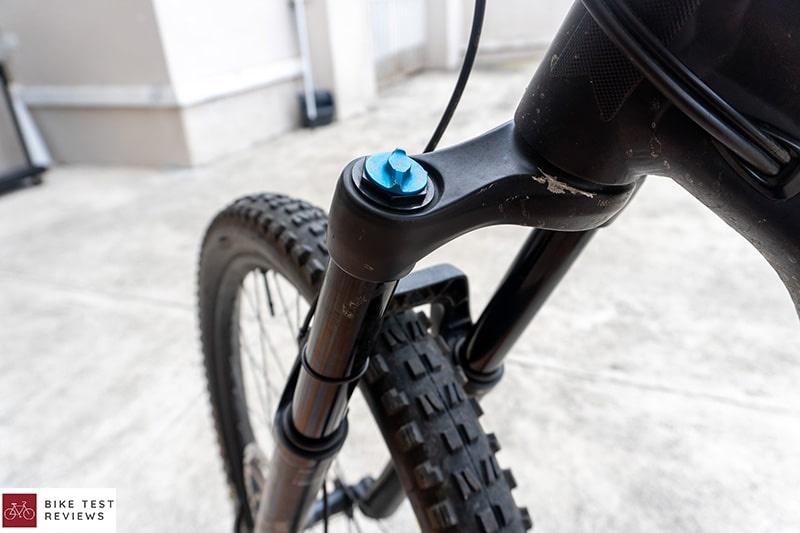
The air chamber, located at the top left of the fork, is the key component that unlocks the suspension’s performance. It comes with a preset air pressure, which you can easily adjust using the shock pump.
Performing this initial task at home is a breeze. Lower the plastic ring on the suspension as far as possible and position yourself on the bike, leaning against a wall so the bike fully compresses.
This action helps you assess the current suspension sag in relation to your weight. Gradually dismount from the bike and note how far the ring has moved up. If your suspension doesn’t come with a plastic ring, a cable tie will suffice.
A pressure indicator is often available on the suspension’s stanchion. If not, there are online resources such as Fox’s suspension pressure calculator. This tool calculates the ideal air pressure based on 30% of your body weight.
To adjust the pressure, connect the shock pump to the top right side of your front suspension. Lower the ring again and then tweak the suspension’s air pressure based on the new calculation setting.
The Most Common Air Fork Troubleshooting Issues
The following steps may vary based on your suspension manufacturer’s specifications, as each brand has its own unique setup. However, most air suspensions have similar compression and rebound settings.
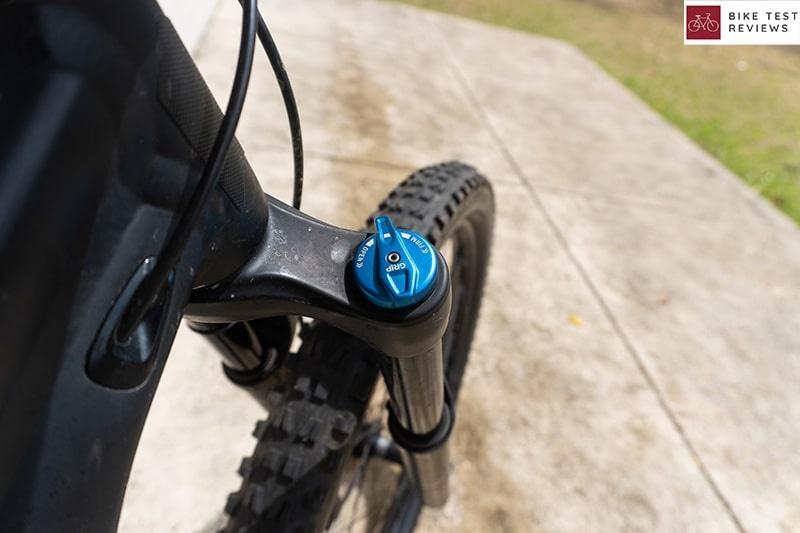
Located on the top right of the fork, adjacent to the air suspension chamber, is the compression adjuster. This feature allows the suspension to modify its resistance to downward motion when fully compressed, or “bottoming out”.
Riders aiming for a climb should increase the compression setting to prevent the bike from bobbing. Conversely, a lower setting provides a smoother descent. A neutral setting is ideal for flat rides.
Below the compression adjuster, you’ll find the rebound damping adjuster, typically colored red. This control determines the speed at which the air fork returns to its uncompressed state after being compressed. A quicker setting can cause your suspension to rebound too much, while a slower setting may result in an unresponsive or sluggish suspension.
If you turn the rebound adjuster clockwise, the rebound will slow down. Conversely, rotating it counter-clockwise will speed up the rebound.
Miscellaneous
Air forks are typically classified based on whether they are progressive or linear. In a progressive setup, the fork becomes firmer and more resistant the more it compresses. In contrast, a linear setup ensures the fork compresses consistently throughout its travel.
In practical terms, a progressive suspension setup aims to remain stable, while a linear suspension setup allows for more movement.
Accessories like volume tokens are inserts that allow you to customize how progressive or linear your suspension behaves. Installed underneath the air chamber, they limit airflow to ensure a responsive and cushioned air fork.
The steerer and crown, which are the upper components of the suspension, require less technical maintenance. By loosening the stem bolts, you may find that the bearings need greasing to enable the fork to rotate without resistance.
We’ve encountered situations where a poorly maintained crown and steerer tube have led to dirt infiltrating the handlebar stem, causing damage to the entire range of motion of the handlebars. This issue necessitated a complete replacement of the stem’s bearings and the steerer’s seals.
The lower legs may require the expertise of an authorized air fork technician. This section covers half of the stanchions and is where the brakes connect with the calipers via the brake oil fluid. If you want to service this part yourself, you may need to invest in a specific maintenance kit.
Final Word Of Advice
No matter what type of air fork you have, we strongly recommend adjusting the air pressure to ensure you’re maximizing the performance of your air fork.
One of the easiest and quickest adjustments you can make at home is the sag setting. Adjusting the sag is a straightforward task that only takes about five minutes
In this video, you’ll learn how to effectively perform this adjustment so that your air fork adequately supports your weight when you mount your bike.
While riding different terrains, your compression and rebound settings may need adjustments. It’s often helpful to have a friend with you to provide a second opinion. Additionally, wearing your cycling clothes and carrying any backpacks you typically use while biking can help to account for any extra weight when setting up your bike.
Once you’ve thoroughly cleaned and correctly adjusted your air fork’s settings, we recommend progressing to more advanced maintenance tasks. For instance, you could inspect the lower section of the suspension to drain any brake oil stored in the stanchions’ legs, which connect to the brake calipers.
Purchasing the air fork maintenance kit from the manufacturer and following their detailed walkthrough can expedite this task, making it easier than you might think.
References
- Progressive vs Linear MTB Suspension – https://bikeco.com/progressive-vs-linear-mtb-suspension-falling-rising-mixed-rate/
- Tailor Your MTB Suspension – https://yardimtb.com/blogs/news/tailor-your-mtb-suspension
- Suspension Sessions: Anatomy of a Fork – https://www.rei.com/blog/cycle/suspension-sessions-anatomy-of-a-fork
- How To Set Up Mountain Bike Suspension – https://youtu.be/lZPOJp5vy64
- Setting Up Rebound on A Mountain Bike | The Pro’s Closet – https://www.youtube.com/watch?v=MFn3qx1Lpg0

Armando is an avid cyclist who enjoys the freedom of exploring and documenting his experiences on his bike. Whether it’s through photography, videography, or writing, he’s always looking for ways to share his experiences. In his free time, you can find him watching mountain bike videos to reiterate his love for cycling!

