Keeping a tight grip on your handlebars is vital when it comes to cycling. The last thing you want is to lose control and end up hitting the floor. A good way to avoid this happening is to have some good grips on your bike, and there’s plenty to choose from on the market.
One thing many cyclists need help with is removing the old grips when it comes to changing them. In this article, we’re going to tell you how to do it properly so you won’t have any issues when it comes to doing it.

Why might you want to change your grips?
Before we get into it, we feel it’s important to speak about why it’s important to change your grips and why you might want to be doing it as a regular thing.
Grips wear out
 The first thing to mention is it doesn’t take long for grips to wear out. Some riders find themselves changing their grips quite often.
Depending on the compound it is made of, they can last as little as one single season.
Upgrade
Many riders like to upgrade their grips to help performance. Upgrading to a better compound means you are going to find it much gripper, and on those challenging trails could be the difference between keeping hold and slipping.
Color Change
Some riders do like it when they have color matching grips. Changing your grips to a different color or design might make you like the look of your bike more.
How to change your grips
Tools Required:
- Poker
- Flathead Screwdriver
- Loosening Spray (White Lightning Clean Streak – recommended)
- Allen Key Set
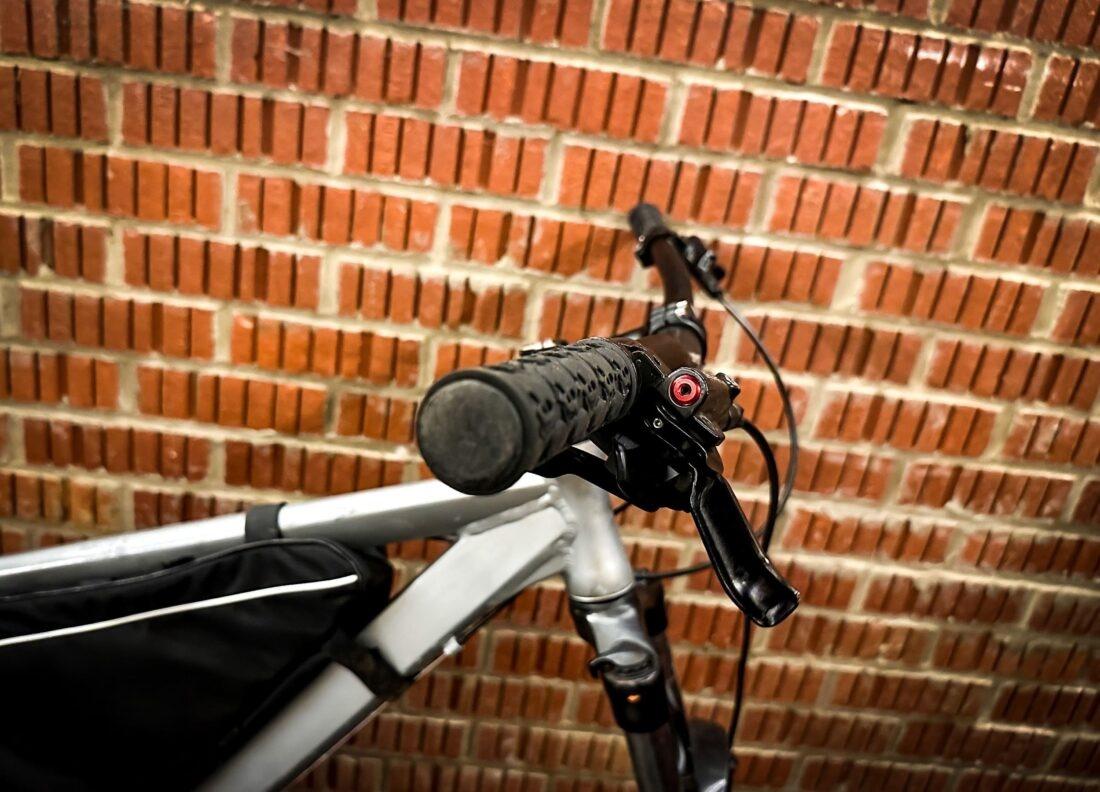
Step One: Preparation
The first thing you’re going to need to do is to find a safe place to work. We recommend being somewhere where you’re able to use a bike stand and also have a place where you can keep tools and spare parts safe.
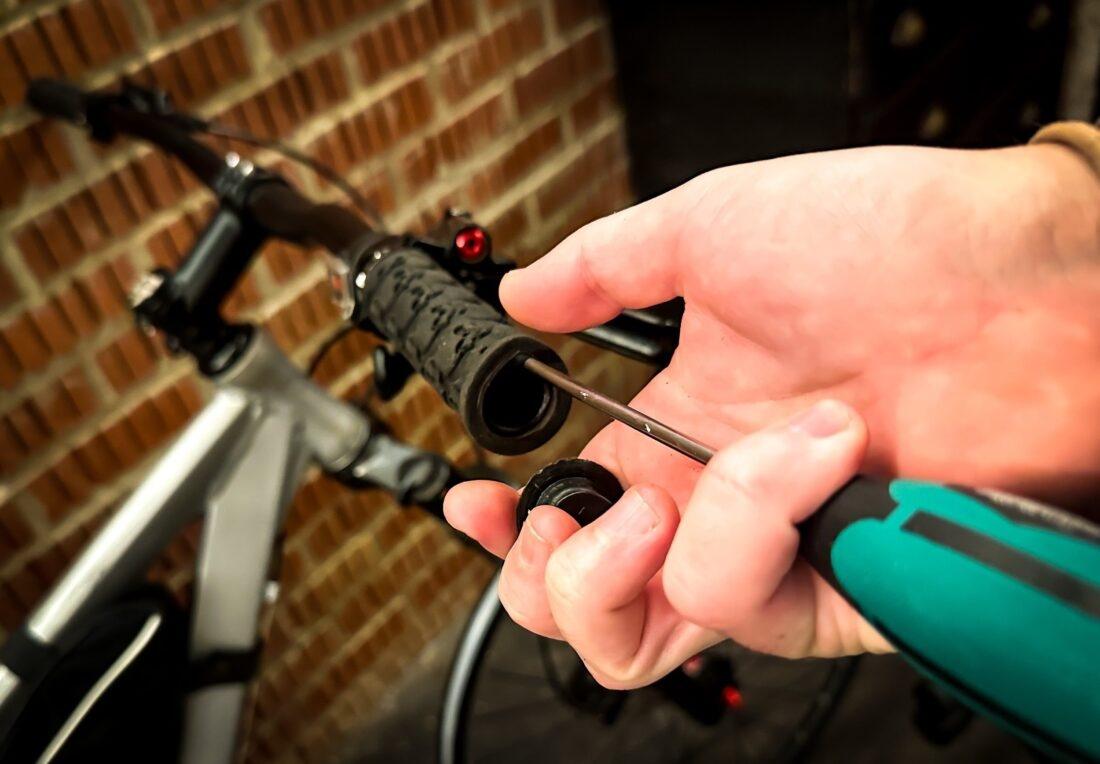
Step Two: Remove the Bar End Plug
With the bike in a stand, you are now going to want to remove the bar end plugs. Most will typically take some off by either using your fingers. If not, you will want to carefully pry it off using a flathead screwdriver. If you have a high-end set, you might even have an allen key bolt you will need to loosen off to remove it.
Once off, you will want to put these in a safe place and consider saving them if you feel they come in handy in the future or if you prefer these compared to the bar end plugs that come with your new grips.
Step Three: Loosen the grips

Next is the part most people find quite challenging, loosening the grips.
Using a small poker, you are going to want to create a small gap between the handlebars and the grip and then spray some of the loosening solvent into it.
Now you will want to twist the grip, and it will start loosening enough for the grip just to slide off. If this doesn’t work the first time, repeat the process until it loosens off.
We recommend White Lightning, Clean Streak. This is because it will lubricate and then dry up quickly after. If not, some people use hairspray or deodorant. We highly recommend not using something like oil that will not dry up. This will ensure your new grips are not slippy.
Step Four: Add the new grips
Now you’re going to want to remove any excess mess from the handlebars and spray some of the loosening spray onto them. Then take your grips and get some spray inside those too. You will have to be quick to ensure the spray doesn’t dry up.
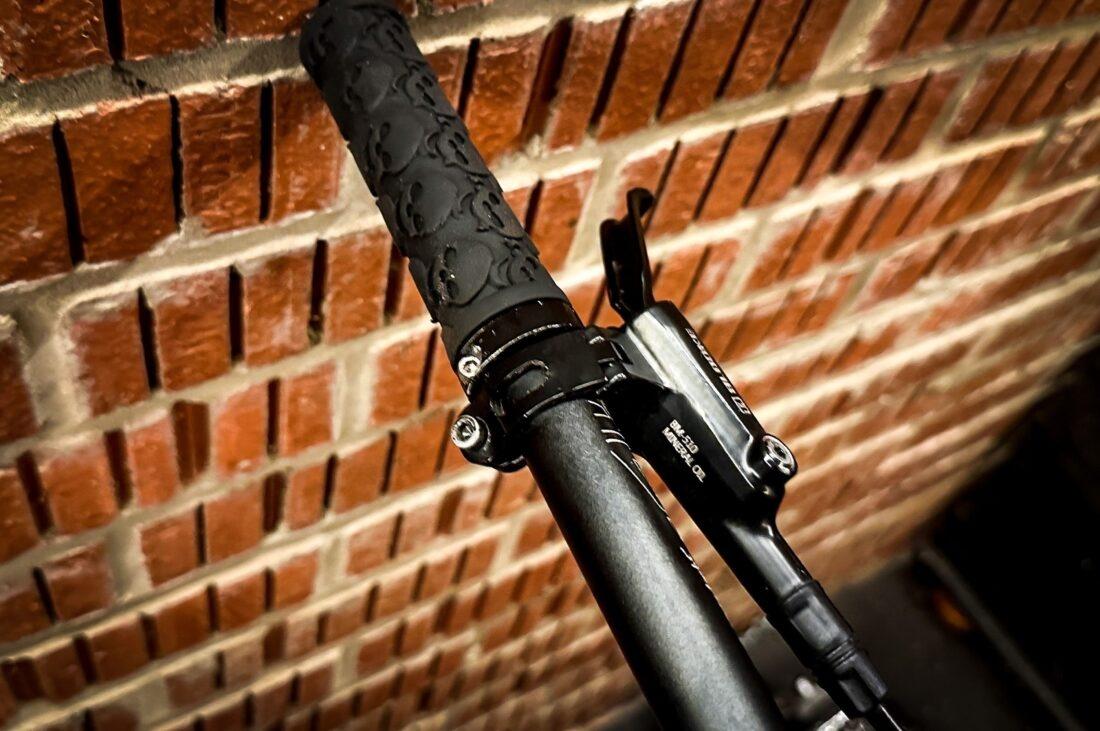
The grips should slide on easily. You will just need to ensure they are in the correct place, which is level with the end on the bars. If they feel a bit loose, give them a few minutes for the loosening spray to dry, and they should feel solid.
Some grips come with a small Allen key security screw on the end. If your new grips have this, then you will want to tighten this up, and this will ensure the grips stay firmly in place.
Step Five: Add the Bar Ends
Finally, the last thing you will now need to do is add the bar ends. Standard bar ends you can push in with a small amount of force, and they will sit completely flush with the bars. Some bar ends might require screwing an Allen key up.
Now you have successfully changed your grips. We recommend leaving them for 10 minutes to fully dry inside and then taking your bike out for a spin to ensure they work properly and are tight enough.
Conclusion
Changing your grips is a simple job, and it should take you about 20 minutes. We recommend using the correct tools and taking your time when doing it. We hope you enjoyed our article and are ready to hit the trails with your new grips on.

Robbie Ferri has spent years working in a bike shop, has worked with industry leading brands on product creation, has been a semi pro athlete, and is a fully qualified strength and conditioning coach. He has broken World Records, bikepacked all over the World and raced ultra distance at a top-level.

