When it comes to cycling, learning how to work on your bike goes a very long way. Not only does it help save you a fortune by not needing to use bike mechanics, but it also can save you from having to spend time dropping your bike off and picking it up.
One of the most common issues people have is when their gears go out of index. This means you get a poor experience shifting, and the chain is prone to slipping. It’s a very easy fix and literally takes minutes to do.
In this article, we’re going to be telling you how to do it yourself (scroll down to the end of the post or click here if you’d rather watch our video guide).
Tools Required
- Allen Keys
- Bike Stand
Step One: Identify Problems
Before you start taking to the tools and ripping parts off the bike, it’s important to understand what caused the bike gears to come out of adjustment. This is going to ensure it can be fixed and reduces the chances of it happening again.
Bent Hanger
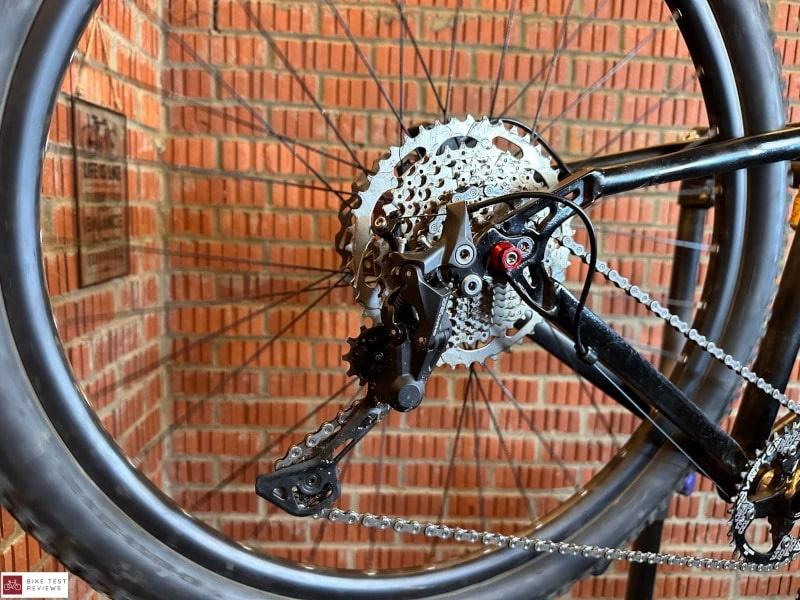
I would like to start by checking the rear hanger, which the derailleur sits on.
You must look at it from the rear and ensure it’s straight and not bent in any way. If bent, it needs replacing or straightening.
Cable Inner And Outers
Next, it’s good to check the cable inners and outers. This is the most common problem when your gears come out of index.
Use the shifter to run up and down the gears. It should work smoothly, and you shouldn’t have too much resistance. Consider changing these if you do.
Worn Components
Finally, we have worn-out components. If your bike has a worn chain, cassette, or chainrings, then it can cause the gears to slip, making it feel like your gears are out of index.
It’s a good idea to check for chain stretch and shark teeth before starting this job.
Cable Stretch
A very common cause for the gears coming out of adjustment is cable stretch. This happens when a bike is new, and the cables are bedding in. It’s very rare for companies to use pre-stretched cables.
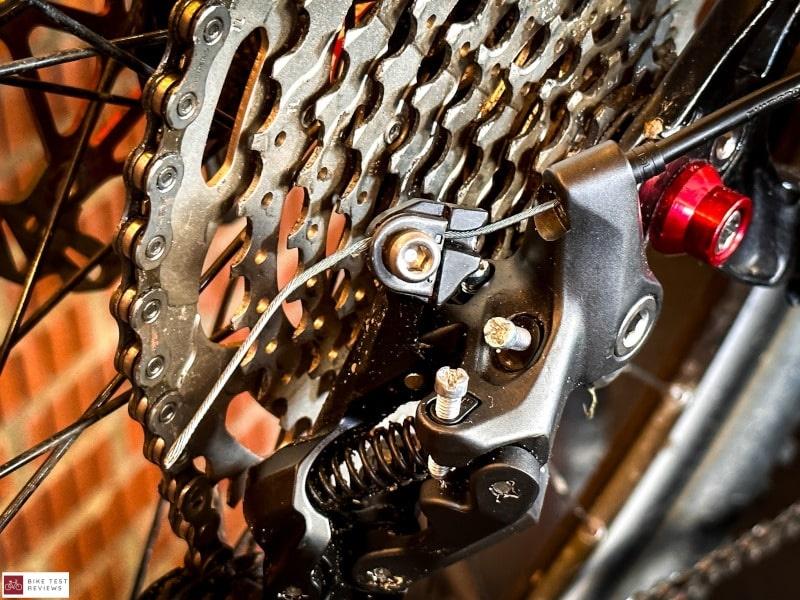
Step Two: Release The Cable
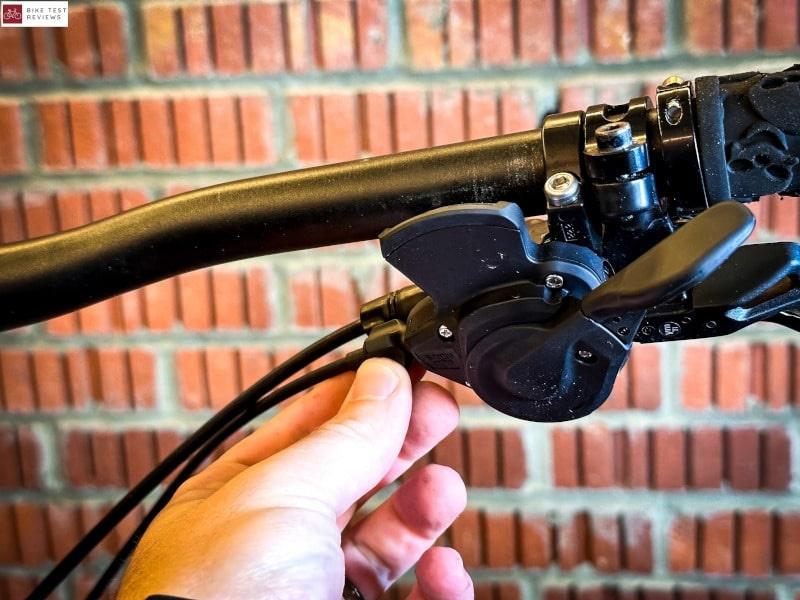
Next, we are going to need to release the pinch bolt so we can reset the cable. You will want to start by going to your shifter and getting into the smallest cog possible. This is so the shifter and chain are in the correct position before we start.
Next, you will need to release the cable. You can do this by taking your Allen keys and undoing the small bolt that holds the cable tight.
Don’t worry about tightening it back up yet, as we need to set the high-limit screw before.
Step Three: Set The High Limit Screw
Now we are going to set the high and low limit screws. You can do this by turning the pedals and either screwing out or screwing in the screw with the small H next to it.
You will want the chain to be able to go in the small cog but not go past and get stuck on the frame.
Step Four: Tighten The Cable Back Up
Next, you will need to tighten the cable back up. Before we do this, it’s a good idea to screw the adjustment barrel back up full so we have loads of adjustment to play with.
Then, you will want to pull the cable tight and tighten the pinch bolt back up.
If you want to make sure that it will be perfect, then I highly recommend changing your cable inners and outers. It’s going to make your shifting amazing, and it will last so much longer.
Step Five: Index The Gears
Then, you need to index the gearing. Start by turning the pedals and then click the shifter up a cog.
More than likely, nothing will happen, so turn the adjuster out until it jumps across up a gear. Then, repeat the process all the way up the cassette.
After you have hit the top of the cassette, run down and it should be indexed properly. Then, run up and down the cassette to check. If it struggles to go up, it needs tightening further. If it struggles down, loosening.
Step Six: Set The Low Limit
Next, you need to set the low-limit screw. This is to stop the chain from going into the wheel.
You will want to take the chain to the smallest gear, screw it in until it jumps forward, then unscrew it until it drops into the lower gear again.
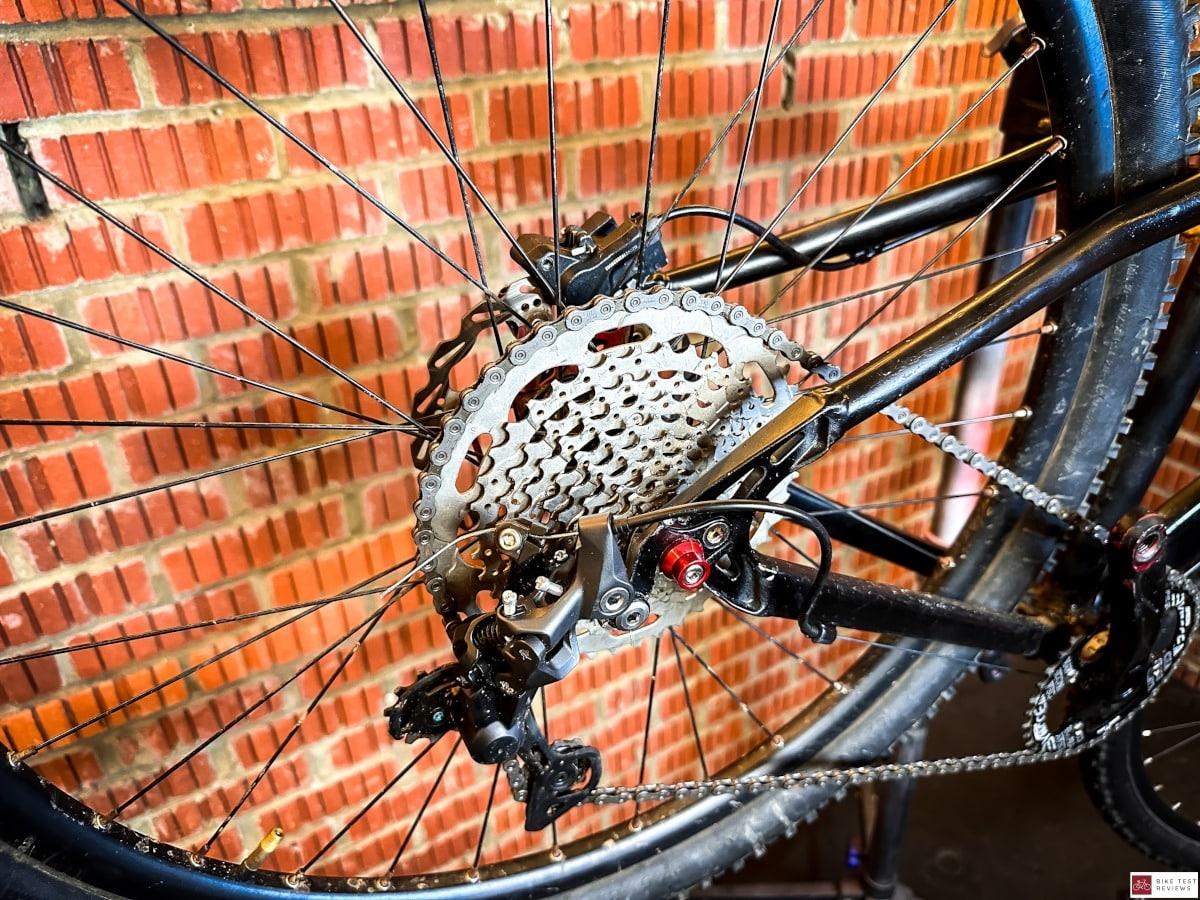
Step Seven: Set The B Limit
Finally, you just need to set the B limit screw. With the cassette in the largest cog you are going to want to have the closest jockey wheel around 1 cm away from it.
The closer to 1 cm you can get the better shifting you will have.
Step Eight: Test
Now, you are going to need to test the bike. Take it out for a spin and give the gears a good run-through. It helps everything settle, and before you know it, the gears will start to bed in properly.

Watch Our Video Guide
A Final Note
Learning how to adjust your gears is a very valuable skill. It not only can make your cycling experience much better, but it ensures that your chain will not slip.
This is something that can be done with minimal tools, and once you have done it once, it’s easy to do again and again on all different types of bikes.

Robbie Ferri has spent years working in a bike shop, has worked with industry leading brands on product creation, has been a semi pro athlete, and is a fully qualified strength and conditioning coach. He has broken World Records, bikepacked all over the World and raced ultra distance at a top-level.

